006 Ribbon Settings
Chris McKeown / July 1, 2025
Settings
Welcome to this demonstration on Bonus Tools - Ribbon Settings.
There are 4 primary settings to be found here:
- Ribbon Settings
- Element Tracking
- General
- Model Health
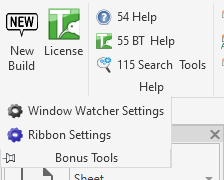
To run the tool, navigate to the Bonus Tools Tab, click on the drop down below About and select Ribbon Settings.
-
Ribbon Settings
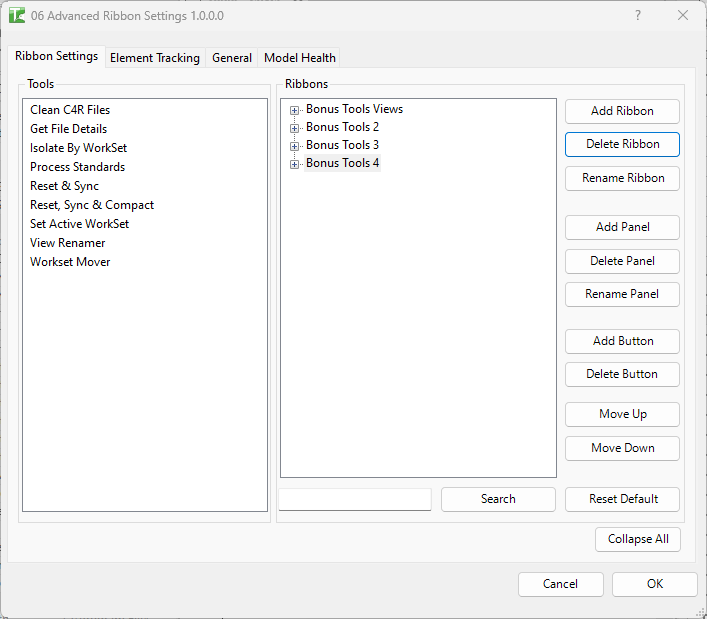
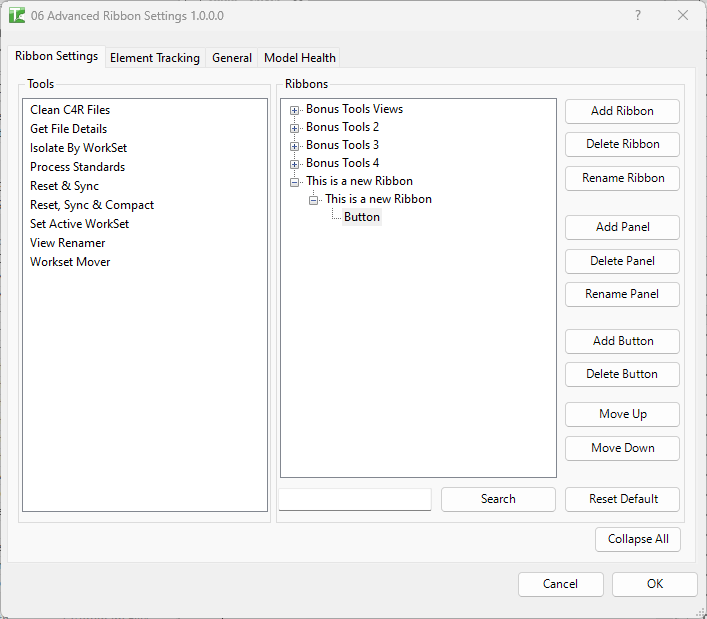
Ribbon Settings tab allows you to configure the Ribbon as you like!From here you can Add a Ribbon, then add Panels, then Buttons, to which you add tools. You can also remove and rename.
A common request is how can I reduce the room Bonus Tools takes up in Revit.
On the left hand side are Tools currently not on the Ribbon, i.e. will not be selectable. On the right is a tree view of the Ribbon > Panels > Buttons and Tools.
-
Ribbons
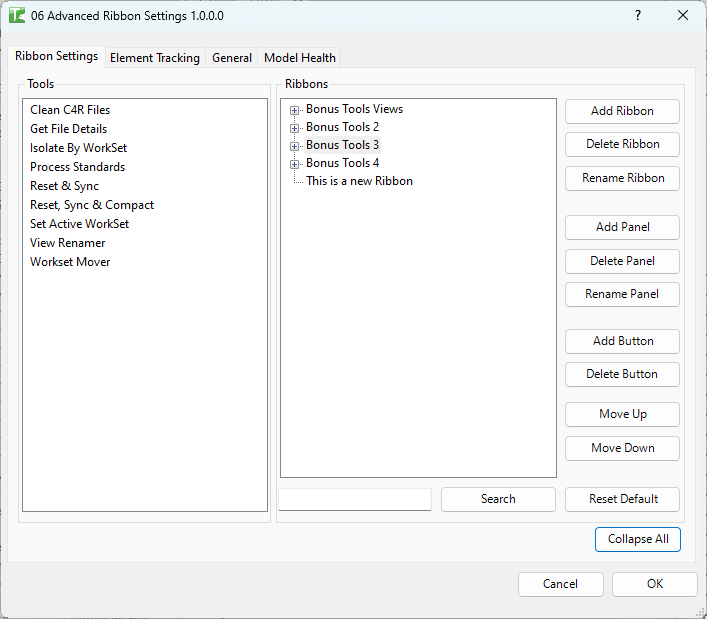
- Add: Click Add Ribbon to add a new Ribbon
You can add more than one Ribbon - Rename: Select the Ribbon to rename and click Rename Ribbon. A dialogue will appear allowing you to enter a new name.
- Delete: Select the Ribbon to delete and click Delete Ribbon.
Note: This will remove all nested Panels, Buttons and Tools. Tools will appear on the left
- Add: Click Add Ribbon to add a new Ribbon
-
Panels
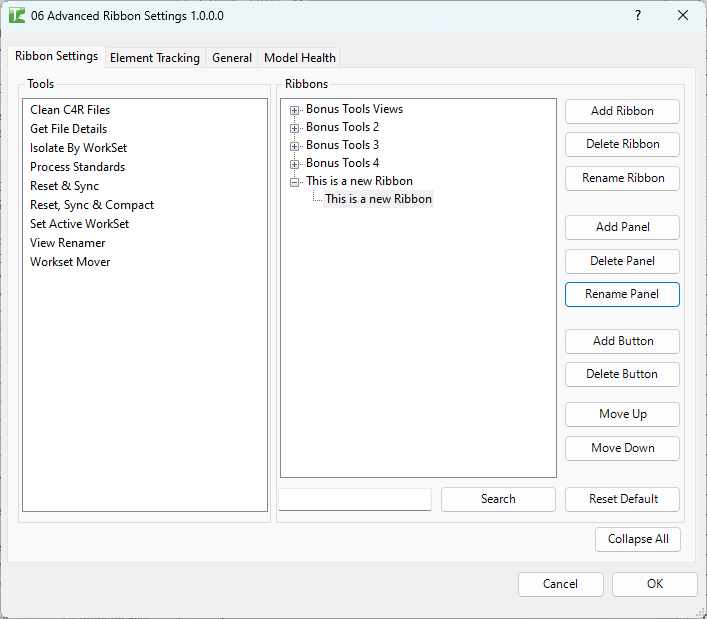
Similar functions to Ribbons- Add: Select a Ribbon to add a Panel to, then click Add Panel to add a new Panel
You can add more than one Panel - Rename: Select the Panel to rename and click Rename Panel. A dialogue will appear allowing you to enter a new name.
- Delete: Select the Panel to delete and click Delete Panel.
Note: This will remove all nested Buttons and Tools. Tools will appear on the left
- Add: Select a Ribbon to add a Panel to, then click Add Panel to add a new Panel
-
Buttons
Similar functions to Ribbons and Panels- Add: Select a Panel to add a Button to, then click Add Button to add a new Button
You can add more than one Button
Note: Buttons cannot be renamed! - Delete: Select the Button to delete and click Delete Button.
Note: This will remove all nested Tools. Tools will appear on the left
- Add: Select a Panel to add a Button to, then click Add Button to add a new Button
-
Tools
- Add: To Add, select a Tool from the left to the right Button to place it on.
Note: you can add multiple by using standard ctrl and shift commands to select one or more Tool from the left.
The number of Tools on a Button determines how it displays on the Ribbon:- 1 Tool per Button will result in a large Icon
- 2 - 3 Tools per Button show small Icons
- 4 or more Tools per Button results in a drop down list
- Delete: To Delete, select the Tool on the right and move it to the left.
- Add: To Add, select a Tool from the left to the right Button to place it on.
-
Search
At any point you can Search for tools in the tree. This helps identify where you have placed a tool. -
Reset
At any point you can Reset to default settings. -
Collapse All
At any point you can Collapse all expanded Ribbons.
-
-
Element Tracking
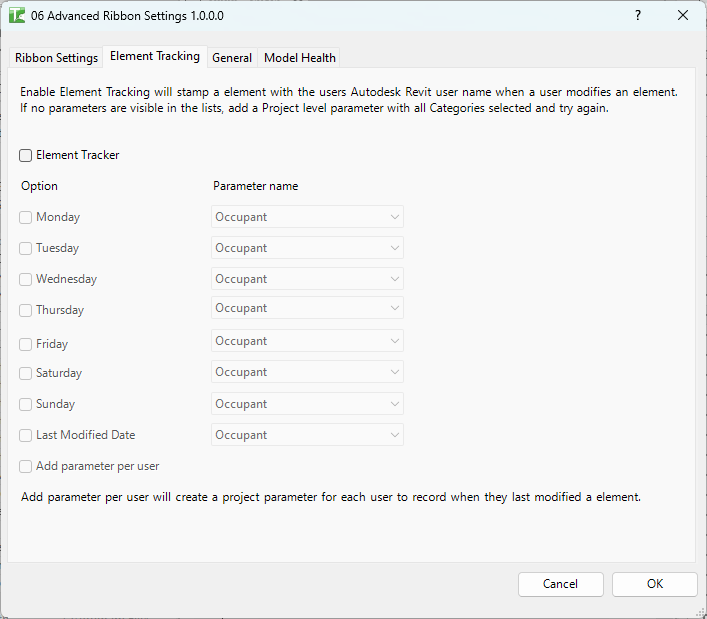
Enable Element Tracking will stamp an element with the user’s Autodesk Revit user name when the user modifies an element. If no parameters are visible in the lists, add a Project level parameter with all Categories selected and try again.
The Day check boxes mean a record over 7 days will be held.
Last modified date (standard) will just record the last edit.
Per user, this will add a Parameter with the user’s name to the Project and record the user's last edit per element. -
General
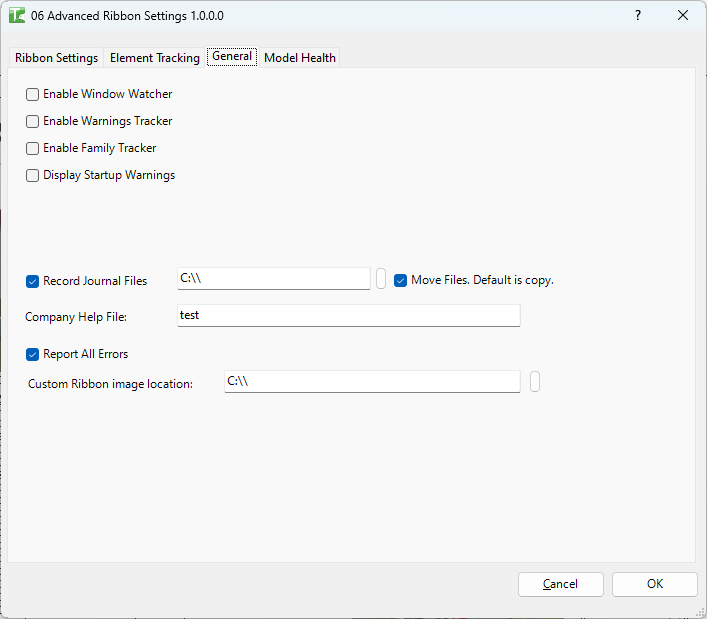
- Enable Window Watcher. Select Enable Window Watcher, if you would like to restrict access to particular Revit windows. See Window Watcher for settings.
- Enable Warnings Tracker. Select Enable Warnings Tracker, if you would like to track the warnings that you create. See Window Watcher for settings.
- Enable Family Tracker. Select Enable Family Tracker, if you would like to track the Family insertion and modification, by dates and user. See Family Tracker for instructions.
- Display Startup Warnings. Select Display Startup Warnings, if you would like to see any Bonus Tools warnings on load.
- Record Journal Files. This will allow you to move journal files to a central location for review.
- Company Help File. Add your company help URL here. This will be linked to Tool 54.
- Report All Errors. Selecting this will report all Bonus Tools errors to the user. Deselecting will hide low priority Bonus Tools Errors.
- Custom Ribbon image. Replace the Bonus Tools Icon with your company one.
-
Model Health
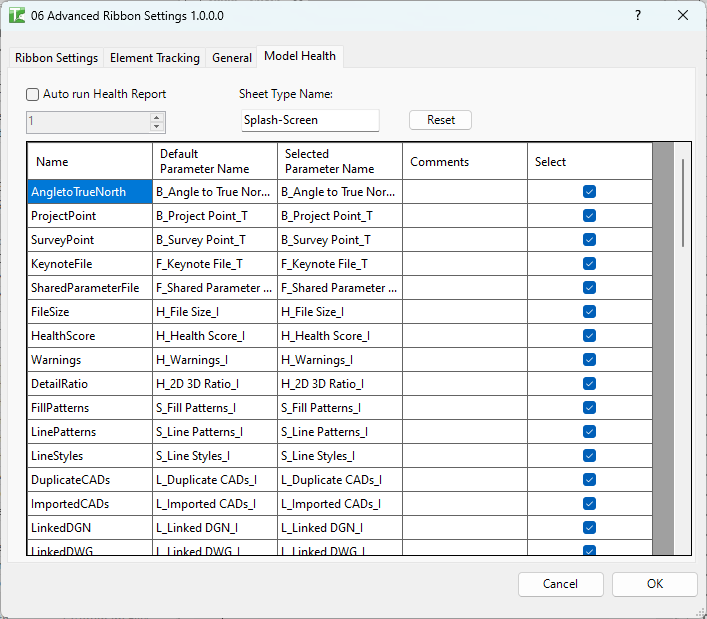
Model Health sets up parameters that work with tool 142 KiwiCodes Audit. Running 142 KiwiCodes Audit will update the Splash Screen that is provided with model stats.
Model Health maps to parameters found in family located here:
C:\Users\%username%\AppData\Roaming\Autodesk\ApplicationPlugins\BonusTools.bundle\Contents\App Resources\2016_Splash-Screen_A3.rfa
Sheet Type Name: is the Family Type Name that Bonus Tools will look for.
There are 2 ways to run and update the Splash Screen, using Tool 142 KiwiCodes Audit or Auto run Health Report, setting the number of days apart.
NOTE: use auto run with care, it will take ownership of some elements which can cause issues. I recommend manually running!
Note: Eventually the results will be sent to Bonus Tools for viewing via website.
Column names mean:- Name: Bonus Tools internal name
- Default Parameter Name: Default used if Reset Button is clicked.
- Selected Parameter Name: Allows you to map to a parameter of your choice.
- Comments: Leave any Company notes.
- Select: Select health check types you would like to run, that are important to you.