099 Copy Scope Box
Chris McKeown / July 1, 2025
Power
Overview
Copy Scope Box lists all scope boxes from every other open Revit project and lets you copy them into the active document. The key feature is the Replace Existing option: when a scope box with the same name already exists in the active document, the tool deletes it, copies the updated version from the source, and automatically reconnects all views that were referencing the old scope box — ensuring that view crop regions remain correctly assigned after the replacement. This is the go-to tool when scope box geometry changes in a coordination model and that change needs to be propagated to project files.
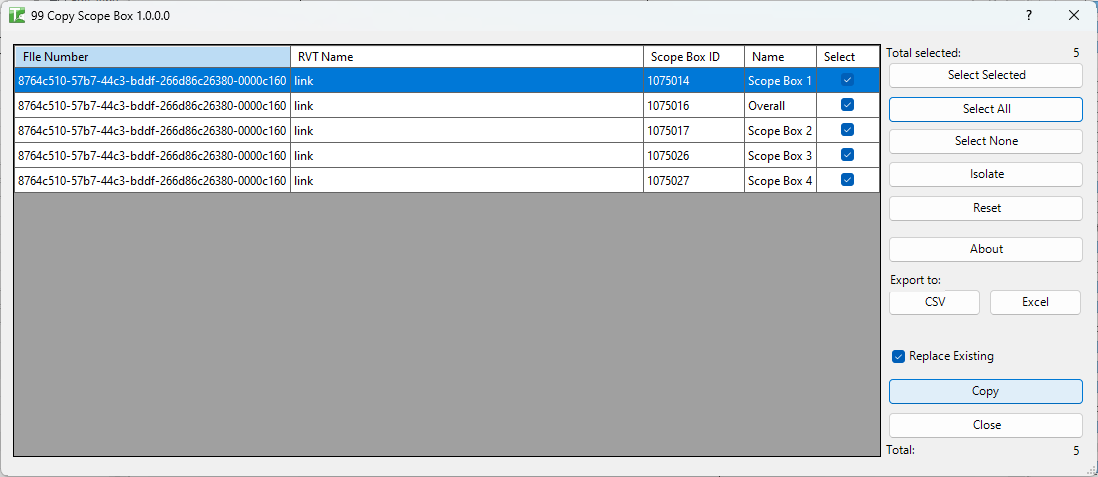
Table of Contents
Key Features
- Lists scope boxes (
OST_VolumeOfInterest) from all other currently open project documents - Grid columns: File Number (document GUID), RVT Name, Scope Box ID, Name, Select
- Replace Existing checkbox (default: enabled) — when checked and a scope box with the same name exists in the active document:
- Deletes the existing scope box
- Copies the scope box from the source document
- Reconnects all views that referenced the old scope box to the new one (via
VIEWER_VOLUME_OF_INTEREST_CROPparameter)
- When Replace Existing is unchecked: copies the scope box only if no scope box with that name exists; skips if it already exists
- Select Selected / Select All / Select None buttons
- Isolate — filters the grid to show only checked rows
- Reset — reloads the grid
- Export CSV / Export Excel
- Progress bar with Cancel — full transaction rollback on cancel
- Completion message: "X passed. Y failed."
Requirements
- Must be run in a project document (not a Family document)
- At least one other project document (not the active document) must be open with scope boxes
- Family documents are automatically excluded
- A valid Kiwi Codes Bonus Tools licence must be active
Running the Tool
Launch
Open both the source document (containing the scope boxes to copy) and the target document (the active document) in the same Revit session. Find Copy Scope Box on the Bonus Tools Ribbon or use 115 Search Tools.
Open all source models before launching. Only documents already open in the Revit session appear in the grid.
Step 1 — Review the scope box grid
The grid populates on launch with all scope boxes found in other open project documents. Each row shows:
| Column | Description |
|---|---|
| File Number | Unique document GUID identifying the source file |
| RVT Name | File name of the source document |
| Scope Box ID | Element ID of the scope box in the source document |
| Name | Scope box name |
| Select | Tick to include this scope box in the copy operation |
Step 2 — Select scope boxes
Tick the Select checkbox for each scope box to copy. Use Select All / Select None / Select Selected for fast selection.
Step 3 — Configure Replace Existing
Replace Existing (checked by default) — determines behaviour when a scope box with the same name already exists in the active document:
| Replace Existing | Scope box exists in active doc | Scope box does not exist |
|---|---|---|
| Checked | Delete old, copy new, reconnect views | Copy directly |
| Unchecked | Skip (do not copy — leave existing scope box untouched) | Copy directly |
Use Replace Existing when you need to update scope box geometry after it has changed in the source document. The reconnect step ensures no views lose their scope box assignment.
Step 4 — Copy
Click Copy (the OK button). For each selected scope box, the tool:
If Replace Existing is checked and scope box exists:
- Finds all views in the active document with
VIEWER_VOLUME_OF_INTEREST_CROPpointing to the old scope box - Deletes the old scope box — logs "[name] Deleted." (green)
- Copies the scope box from the source document using
ElementTransformUtils.CopyElements - Reconnects all previously recorded views to the new scope box — logs "Reconnected [name] Scope Box to Views." (green)
If scope box does not exist (or Replace Existing is unchecked and it doesn't exist):
- Copies directly from the source document
Each step uses a SubTransaction for granular error handling.
When complete: "X passed. Y failed."
Tips and Best Practices
- Keep Replace Existing checked for routine updates. This is the safest mode for propagating scope box geometry changes — views stay connected without any manual re-assignment.
- Open the source document before launching. The grid only shows scope boxes from documents open in the current session. If the source is not open, its scope boxes will not appear.
- Verify view counts before replacing. If you need to know how many views are connected to a scope box before replacing it, use tool 84 Scope Box Map to get a full count first.
- Cancel is fully safe. The entire operation runs in a single transaction — clicking Cancel rolls back all changes, including any deletions already performed.
- Check the Output log after running. Red entries identify which scope boxes failed to copy, delete, or reconnect. Address each failure individually.
Common Use Cases
Propagating scope box changes from a coordination model — The site coordination model has updated scope box boundaries. Open it alongside the architectural model, run Copy Scope Box with Replace Existing, and all views retain their scope box assignments automatically.
Setting up scope boxes in a new project from a template — A template model has carefully positioned scope boxes matching the site grid. Copy all of them into the new project in one operation.
Synchronising scope boxes across discipline models — Each discipline file needs the same set of scope boxes as the architectural model. Open each discipline model, run Copy Scope Box from the architectural model.
Updating a renamed or repositioned scope box — The architect has updated a scope box shape but kept the same name. Copy it with Replace Existing to update the geometry while preserving all view connections.
Troubleshooting
Grid is empty on launch Only the active document is open, or all other open documents are family documents. Open the source project document in Revit and re-launch or click Reset.
"Failed to deleted [name] Scope Box." The existing scope box could not be deleted — typically a worksharing conflict. Gain ownership of the scope box element and re-run.
"Failed to copy [name] Scope Box." The copy operation failed. Possible causes: the source document is not readable, the scope box element ID is stale, or a worksharing conflict in the target document.
"Failed to reconnect [name] Scope Box to Views." The new scope box was copied successfully but some views could not be reconnected. These views may be read-only or owned by another user. The Output log will list each affected view. Reconnect them manually via view properties.
Scope box is copied but views show no scope box If Replace Existing was unchecked and a scope box with the same name already existed, the old scope box was kept and no reconnection was performed. Enable Replace Existing and re-run.
Views lost their scope box after replacing Check that the reconnection step logged "Reconnected..." for each affected view. If the reconnect SubTransaction failed, views may need to be manually reassigned. Use Revit's View Properties → Scope Box dropdown to reassign.