081 Floor To Follow Floor
Chris McKeown / July 1, 2025
Lists
Overview
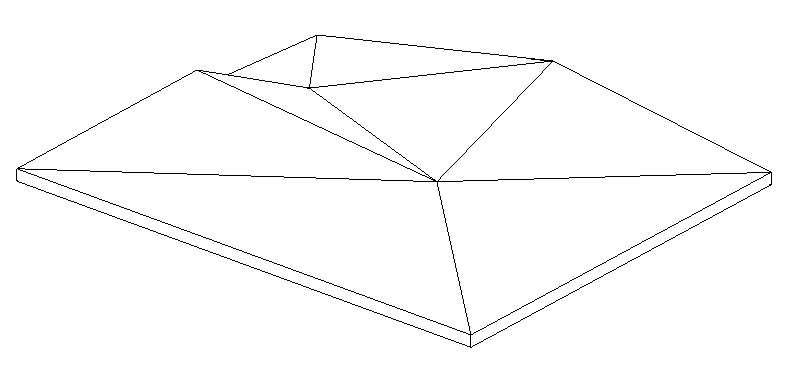
Floor to Follow Floor modifies the sub-element profile of a target floor to follow the surface of a source floor. You pick two floors interactively: first the source floor (the one to follow), then the target floor (the one to modify). The tool uses ray-casting from the active 3D view to find the source floor elevation at each target vertex position, then applies those elevations as sub-element offsets. It also copies all source floor sub-element vertices and crease intersections to the target floor for a detailed shape match. A progress bar with a Cancel button keeps you in control on complex floors.
Note: Depending on the complexity of the source floor, the match may not be perfect. You can add additional sub-modify points manually and re-run the tool to improve the result.
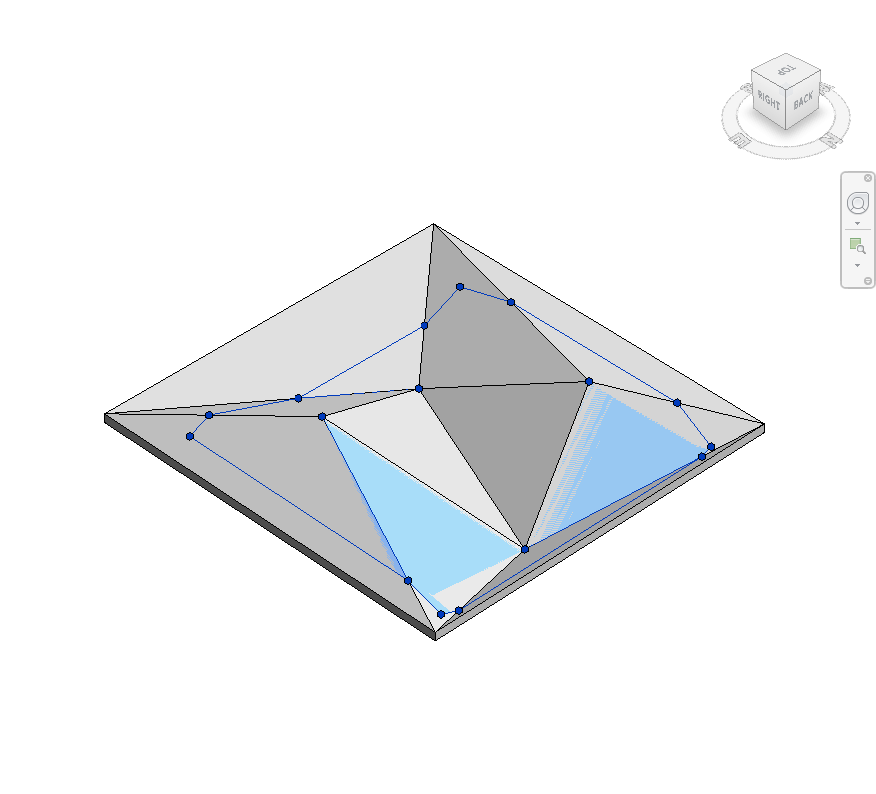
Table of Contents
Key Features
- Interactive two-step floor picking — pick source floor, then target floor
- Ray-casting finds source floor elevation at each target vertex (upward and downward)
- Resets target floor height-above-level to 0 before applying sub-element offsets
- Copies source floor sub-element vertices to the target floor
- Handles crease line intersections — adds points at all crease–crease crossings
- Progress bar with Cancel button — operation stops cleanly at the current step
- Supports Revit 2019–2025+ via conditional slab shape API compilation
- Cannot run in Family environment
Requirements
- Must be run from a 3D View — ray-casting requires a 3D view context
- Must be run in a project document (not a Family environment)
- Both selected elements must be Floors — other element types (roofs, slabs, structural floors) are not supported
- The target floor's Slab Shape Editor must be available — slope-controlled floors cannot have sub-elements modified
- Both floors should overlap in XY extent so ray-casting can find intersections
Running the Tool
Launch
Find Floor To Follow Floor on the Bonus Tools Ribbon or use 115 Search Tools.
Step 1 — Open a 3D View
Navigate to a 3D view where both floors are visible. Turn off any section box clipping that might obscure either floor.
Step 2 — Pick the Source Floor
When the tool launches, the Revit status bar prompts:
"Select a floor to follow."
Click the source floor — this is the floor whose surface shape the target will match.
Step 3 — Pick the Target Floor
The status bar immediately prompts:
"Select a floor."
Click the target floor — this is the floor that will be modified to match the source.
Step 4 — Processing
A progress bar appears. The tool works in three passes:
- Vertex matching — For each vertex of the target floor, a ray is cast up and down to find the source floor surface. The target vertex elevation is set to the intersection point.
- Vertex copy — All sub-element vertices from the source floor are added to the target floor.
- Crease intersections — All crease line pairs are checked for XY intersections; a point is added at each crossing and matched to the source floor elevation.
Click Cancel at any time to stop. All changes already applied are kept.
Step 5 — Review and Refine
After the tool completes, inspect the result in the 3D view. On complex source floors, the shape approximation may need refinement. You can:
- Add additional sub-modify points manually using the Slab Shape Editor
- Re-run the tool to pick up the new points on the next pass
Tips and Best Practices
- Add more sub-modify points to the target floor manually, then re-run. The more vertices the target floor has, the more ray intersections are computed and the closer the match. This is the recommended workflow for complex terrain-following floors.
- Ensure both floors overlap in XY. If the floors do not share an XY footprint, rays from the target vertices will miss the source floor entirely and no elevation change is applied.
- The target floor's height-above-level is reset to 0. This is intentional — all elevation variation is encoded in sub-element offsets relative to the level. Check that the target level is at the correct absolute elevation before running.
- Use a section or floor plan after running to verify the floor profile in 2D — the 3D view may not show subtle elevation differences clearly.
- Crease lines are important for complex shapes. If the source floor has crease lines defining ridges or valleys, these are propagated to the target floor. Ensure the source floor is fully modelled before running.
- For topography-to-floor relationships, use 065 Floor to Match Topography instead — that tool is purpose-built for terrain matching with additional topography point import.
Common Use Cases
Slab on grade following structure — Match a ground-floor concrete slab to the underside of a structural deck directly above, ensuring the correct relationship for a split-level section.
Mezzanine coordination — Adjust a mezzanine floor to follow a sloped roof structure defined by a footprint roof converted to a floor for structural coordination.
Multi-level floor profiling — On a stepped or ramped floor system, create the primary ramp as one floor, then use this tool to match secondary platform floors to the ramp surface at their connection points.
Copy a complex floor shape — Use an existing sculpted floor as a template and match a new floor to its profile as a starting point, then adjust individually.
Troubleshooting
"Please go to a 3D View before running this tool." The active view is not a 3D view. Navigate to a 3D view and retry.
"Please select two floors." After picking both elements, the tool detected that one or both are not Floor elements. Ensure you are clicking on Revit Floor elements specifically — not structural floors, roofs, or other element types.
"Error whilst running the tool. If the problem persists please contact chris@kiwicodes.com" An unexpected error occurred during processing. Check that both floors have their Slab Shape Editor accessible (not slope-controlled). If the error persists, contact support.
"Action not available in the Family environment." The tool can only run in a project document.
Target floor does not change shape If no rays from target floor vertices intersect the source floor, no changes are applied. Verify that both floors overlap in XY plan extent and that neither floor is hidden or on a different Design Option.
Match is imprecise at floor edges The tool matches existing vertices — it does not add new boundary vertices to the target floor. Manually enable the Slab Shape Editor on the target floor, add sub-modify points at the boundary, and re-run to improve edge accuracy.