078 Plan Regions
Chris McKeown / July 1, 2025
Sheet & View Manipulation
Overview
The Plan Regions tool copies Plan Region sketches from a nominated source view to one or many target views. This is useful when a complex cut-height configuration has been set up on one floor plan and needs to be replicated across multiple levels or view types without manual re-drawing. The tool saves From/To view mappings between sessions so the configuration does not need to be re-entered each time.
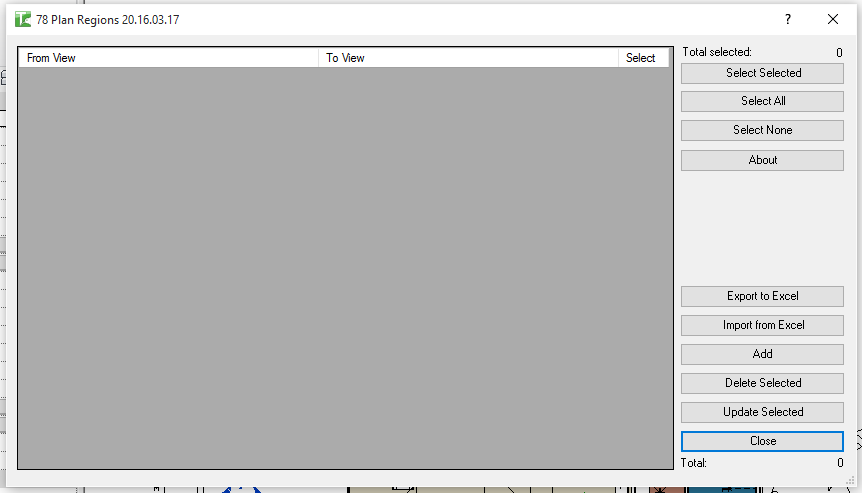
Table of Contents
Key Features
- Copies Plan Region geometry from a source view to one or more target views
- Only views with existing Plan Regions appear in the From View dropdown
- All Floor Plan, Engineering Plan, Ceiling Plan, and Area Plan views appear in the To View dropdown
- Supports multiple From/To mappings in a single grid — add as many rows as needed
- View mappings are saved using Extensible Storage and reloaded on the next session
- Select All / Select None / Toggle Selected buttons for batch selection
- Add button inserts a new mapping row; Remove Selected deletes checked rows
- Update Selected copies Plan Regions for all checked rows
- Delete Selected removes Plan Regions from target views
- Export the mapping grid to CSV; import new rows from Excel
- Progress bar with cancel support
- Warning: existing Plan Regions in the target view are deleted before the new ones are copied
Requirements
- At least one Floor Plan, Engineering Plan, Ceiling Plan, or Area Plan must exist with Plan Regions already sketched — this becomes the From View
- Target views (To View) must be of the same plan view types listed above
- The From View and To View cannot be the same view
- In workshared projects, ownership of the target view's elements may be required
Running the Tool
Launch
Find Plan Regions on the Bonus Tools ribbon or use 115 Search Tools. The dialog opens and loads any previously saved From/To mappings.
Step 1 — Add Mapping Rows
Click Add to insert a new row. Each row has three columns:
- Select — checkbox for batch operations
- From View — dropdown showing only views that contain Plan Regions (format:
ViewFamilyType : ViewName) - To View — dropdown showing all eligible plan views
Select the source view and target view for each row. Repeat for as many mappings as needed.
Step 2 — Select Rows to Process
Use the Select checkboxes to mark which rows to run. Use Select All, Select None, or Toggle Selected for batch control.
Step 3 — Update or Delete
Click Update Selected to copy Plan Regions from each From View to the corresponding To View. The tool deletes any existing Plan Regions in the target view before copying.
Important: If a target view already contains Plan Regions, they will be permanently deleted and replaced. Confirm that the target views do not have bespoke Plan Region configurations before running.
Click Delete Selected to remove Plan Regions from the To View only (without copying new ones).
Step 4 — Review Results
Two dialogs appear after the operation:
- Summary — total views updated and failed.
- Detail — per-row breakdown showing which From/To pairs succeeded or failed.
Step 5 — Manage Mappings
- Click Remove Selected to delete rows you no longer need.
- Mappings are saved automatically on close and reloaded next time the tool opens.
- Export the grid to CSV for documentation; import from Excel to load new rows in bulk.
Tips and Best Practices
- Set up the master Plan Region view carefully. The From View is the source of truth. Verify its Plan Region geometry is correct before copying to other views.
- Avoid mapping to views with bespoke configurations. If a target view has custom Plan Regions for a specific purpose (e.g. stair or ramp cuts), copying will overwrite them. Map only to views where the source configuration is appropriate.
- Use the same View Family Type for From and To. Plan Regions behave differently across view types. For most use cases, copy from Floor Plan to Floor Plan of the same family type.
- Save mappings as a template. On projects with a consistent floor layout, set up the From/To rows once at the start of the project and they will persist across sessions.
- Check the result in the target view. Open the target view after running to confirm the Plan Regions were copied correctly and that cut heights look as intended.
Common Use Cases
Consistent cut heights across all levels — Draw the correct Plan Region configuration on one level, then use the tool to copy it to all other level plans in a single operation.
Applying a stair cut configuration — A stair requires a custom cut height Plan Region on each level. Set up the region on the ground floor plan and copy it to all upper levels.
Updating after a design change — When the cut height configuration needs to change across all plans, update the master view and re-run the tool to push the change to all target views.
Ceiling plan cut heights — Use the same source view configuration to set consistent cut heights for all Ceiling Plans in the project.
Troubleshooting
From View dropdown is empty No views in the project currently contain Plan Regions. Draw at least one Plan Region in a floor plan view, then re-open the tool.
From View and To View cannot be the same The tool detects when both dropdowns have the same view selected and skips that row, incrementing the failed count. Select a different target view.
"Operation Failed" on Update A transaction error occurred. This can happen if the target view is locked, the user does not own the view elements, or if the Plan Region geometry from the source is incompatible with the target view's host (e.g. different level offsets). Check the Output window for specific error messages.
Existing Plan Regions in the target are deleted unexpectedly This is by design — the tool clears existing Plan Regions in the target before copying. If you need to preserve existing regions, do not include that view as a To View.
Mappings are not saved between sessions Extensible Storage write failures can occur in read-only or workshared files where the user does not have ownership. Ensure the model is editable and the user has edit access before closing the dialog.