071 RDS Tool
Chris McKeown / July 1, 2025
Sheet & View Manipulation
Overview
The RDS Tool (Room Documentation Set) automates the creation of a complete set of views and sheets for every Room in a project. Select which view types to create, configure view templates and crop margins for each, and the tool generates the entire documentation set in a single operation. Rooms can be sourced from the current project or a linked model.
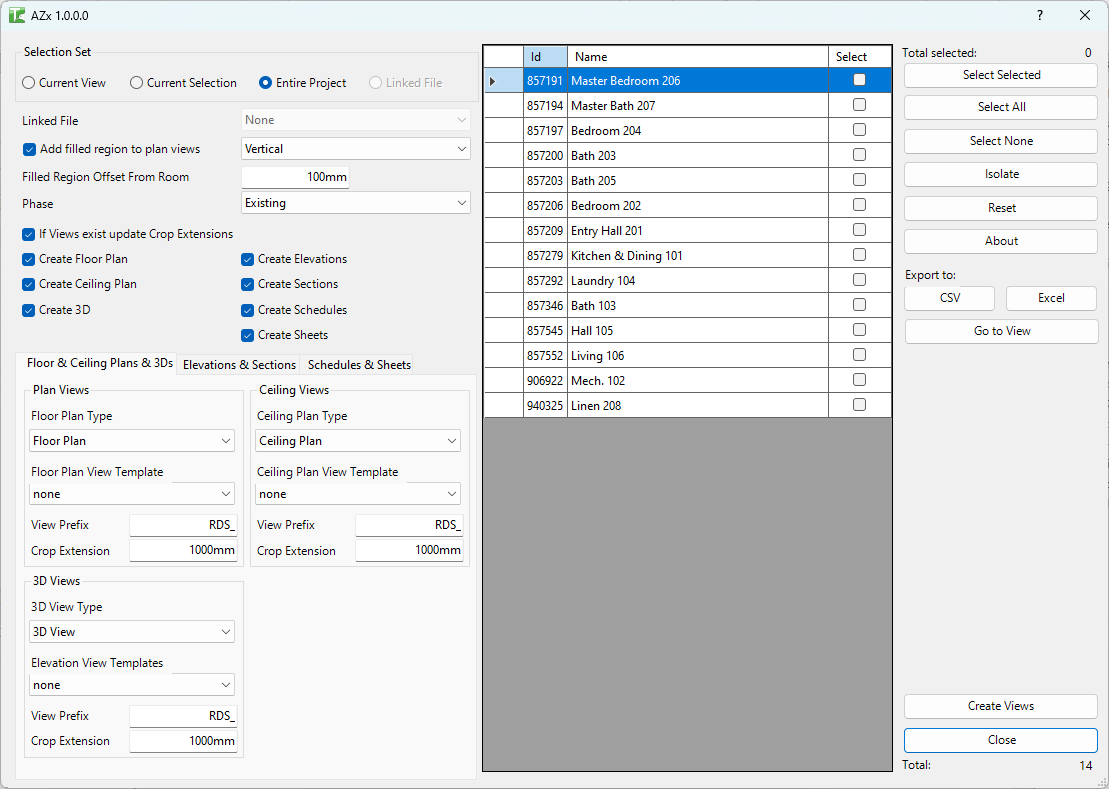
Table of Contents
Key Features
- Creates Floor Plans, Ceiling Plans, 3D Views, Elevations (N/S/E/W), Sections, Schedules, and Sheets per Room in a single pass
- Supports rooms from the current document or a Revit linked model
- Filter rooms by Current View, Current Selection, or Entire Project
- Per-view-type configuration: view template, view family type, name prefix, and crop margin offset
- Optional filled region overlaid on each floor plan to highlight the room boundary
- If views already exist, updates their crop extents rather than duplicating them (configurable)
- Schedule creation uses an existing schedule as a template and populates it with room-specific filter parameters
- Sheet creation maps generated views onto sheet templates derived from existing sheets
- Export room list to CSV for audit or coordination purposes
- Go to View button selects and navigates to the chosen room in Revit
Requirements
- Rooms must exist in the project (or a loaded Revit link) before running
- At least one Floor Plan view must exist to enable floor plan creation
- For Schedule creation, at least one existing Schedule must be present to serve as a template
- For Sheet creation, at least one existing Sheet must be present to serve as a template
- Rooms sourced from linked models require a Revit link to be loaded
Running the Tool
Launch
Find RDS Tool on the Bonus Tools ribbon or use 115 Search Tools. The dialog opens showing a grid of all detected rooms with a count label.

Step 1 — Select the Room Source
Use the radio buttons at the top of the dialog to choose where rooms come from:
| Option | Description |
|---|---|
| Entire Project | All rooms in the current document |
| Current View | Rooms visible in the currently active view |
| Current Selection | Rooms pre-selected in Revit before opening the tool |
| Linked File | Rooms from a loaded Revit link (select from dropdown) |
Step 2 — Select Rooms
Use the checkboxes in the grid to select which rooms to process. Use Select All, Select None, or Toggle Selected buttons for quick filtering. The Selected counter updates as you check or uncheck rooms. Use Go to View to navigate to a room in Revit to confirm identification.
Step 3 — Configure View Types
Six tabs control which views are created. Enable each view type using its checkbox, then configure the options for that type:
Floor Plan & Ceiling Plan
- Create Floor Plan / Create Ceiling Plan checkboxes toggle each type on or off.
- View Template — select a view template to apply to each created plan.
- View Family Type — choose which plan view family type to use.
- Prefix — text prepended to each view name.
- Crop Margin — distance added around the room boundary for the crop region.
- Add Filled Region — overlays a filled region on the plan using the selected fill pattern.
- Update Crop if Views Exist — when checked, re-crops existing views rather than skipping them.
Elevations
- Enable Create Elevations to generate four interior elevations per room.
- Select view template, view family type, prefix, and crop margin per elevation.
Sections
- Enable Create Sections to generate cross-sections through each room.
- Interior Offset — distance the section cuts in from the room boundary.
- Minimum Section Length — sections shorter than this value are skipped.
- Exclude Text — skip rooms whose names contain this string.
3D Views
- Enable Create 3D to generate a section-box 3D per room.
- Configure template, family type, prefix, and crop offset.
Schedules
- Enable Create Schedules to duplicate a base schedule per room.
- Base Schedule — select an existing schedule to copy as the template.
- Filter Parameters — the tool reads the filters from the base schedule and lists them; these filters are set to the room name when duplicating.
Sheets
- Enable Create Sheets to generate one sheet per room.
- Sheet Prefix — prefix added to each sheet number.
- Sheet Search — filter the list of template sheets to select from.
- Select which existing sheets to use as layout templates (viewports are carried over).
Step 4 — Run
Click OK to generate all selected view types for the chosen rooms. A progress bar tracks completion. Click Cancel at any time to stop.
After completion, a results dialog reports how many views and sheets were created.
Tips and Best Practices
- Set up view templates before running. Create dedicated templates for each view type (room plan, room ceiling, room elevation) so all generated views are consistently formatted from the start.
- Use the filled region option for presentation plans. The overlay visually marks the room extent and is particularly useful for fit-out and interior documentation.
- Enable "Update Crop if Views Exist" on re-runs. If rooms are resized after the first run, re-running the tool with this option checked updates all crop regions without creating duplicates.
- Use sections sparingly. Sections through complex rooms can create clutter. Use the Exclude Text field to skip rooms not requiring section cuts (e.g.
corridor,WC). - Linked model rooms require a host plan. Make sure the active view is a plan that shows the linked model rooms before selecting "Linked File" as the source.
- Coordinate prefixes with naming standards. A prefix like
RM-orROOM-groups all room views together in the Project Browser.
Common Use Cases
Interior fit-out documentation — Select all rooms on a floor, enable Floor Plans, Ceiling Plans, and Elevations, assign view templates, and run. Generates a complete room-by-room documentation set in minutes.
Tenancy coordination — Use Linked File mode to source rooms from the architectural model in a structural or services model, then generate coordinated plans for each tenancy without manually creating views.
Updating after design changes — Re-run the tool with Update Crop enabled after room boundaries change. All existing views are re-cropped to match the new extents without duplicating the documentation set.
Schedule-per-room reporting — Use the Schedules tab to generate a room-specific finish or fixture schedule for each room, filtered by the room name parameter.
Troubleshooting
No rooms appear in the grid No rooms exist in the selected source. If using Entire Project, ensure rooms are placed in the model. If using Current View, switch to a plan view that contains rooms. If using Linked File, confirm the link is loaded.
"Linked File Selected" message on Go to View Navigation is not available for linked file rooms — this is expected behaviour. Use Go to View only with rooms from the current document.
Filled region creation fails The room has a complex or open boundary. Check room separation lines and ensure the room is fully closed before running.
Elevations or sections are not created for some rooms Rooms that are too small for the configured crop margin or section minimum length are skipped. Reduce the minimum section length or crop margin values.
Views are created but have no view template applied The selected template may not be compatible with the view family type chosen. Verify the template is assigned to a matching view discipline.
Sheet creation fails At least one existing sheet must be selected as a template. Ensure the Sheet Search filter is not excluding all available sheets.