044 SheetEMup
Chris McKeown / July 1, 2025
Sheet & View Manipulation
Overview
SheetEMup creates a batch of new Revit sheets based on a template sheet you choose. The dialog has three panels: a sheet tree on the left (select a template), a new-sheets grid in the middle (one row per new sheet, one column per viewport position), and a views list on the right (drag views into grid cells). For each viewport position you can duplicate the template view, leave it empty, or assign any other view. After clicking OK, a Change Parameters dialog lets you rename and renumber all the new sheets in one step.
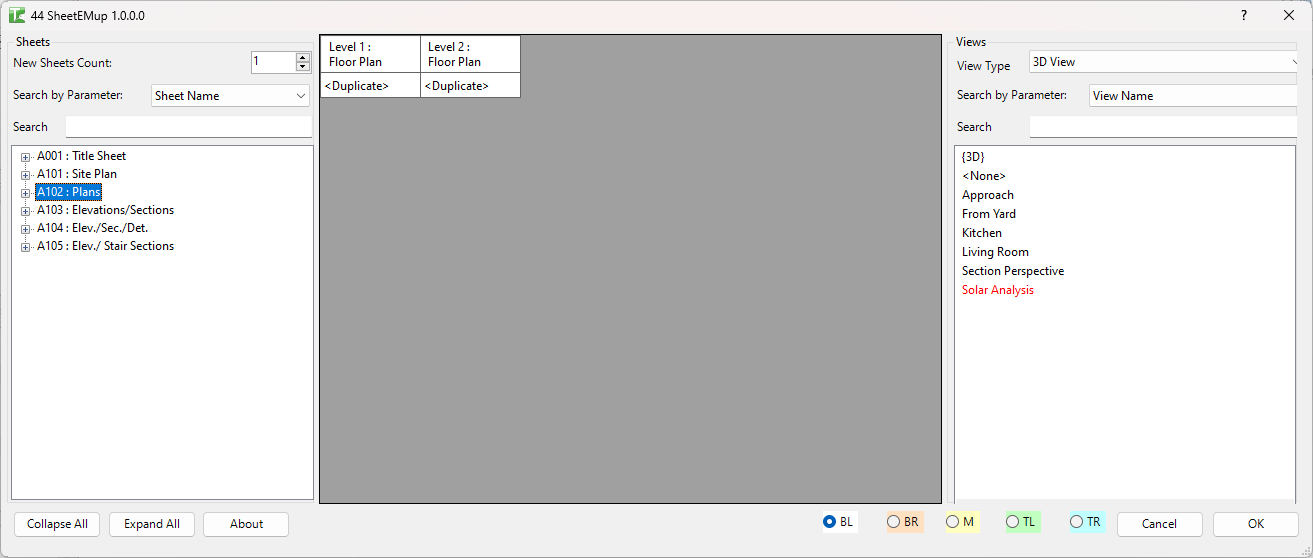
Table of Contents
Key Features
- Template-based sheet creation — select any existing sheet as the template; the new sheets inherit its viewport layout
- Configurable new sheet count — set how many new sheets to create in a single run
- Per-viewport assignment — for each column (viewport position) on the new sheets, assign
<Duplicate>(copy the template view),<None>(leave empty), or any view from the project - Drag-and-drop view assignment — drag views from the right-hand views list onto grid cells
- Bulk view assignment — select multiple cells, right-click, and choose "Add view to selected Sheets" to assign a view (schedules, legends) to all selected rows at once
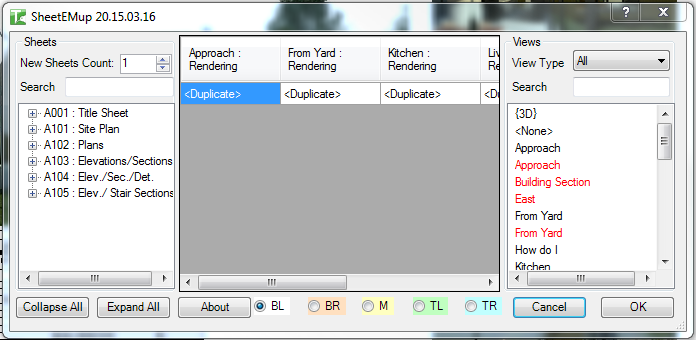
- View Type filter — filter the views list by type: All, Floor Plan, Elevation, Section, 3D, Detail, Schedule, Rendering
- Red items in views list — views already placed on a sheet are shown in red; dragging them onto a new sheet will duplicate them
- Base point options — choose how viewports are positioned: BL, BR, M, TL, or TR of the template viewport bounding box
- Change Parameters dialog — after sheet creation, rename/renumber all new sheets with start value, increment, prefix, suffix, and titleblock selection
Requirements
- The project must have at least one existing sheet to use as a template
- A titleblock must be loaded in the project
- A valid Kiwi Codes Bonus Tools licence must be active
Running the Tool
Launch
Find SheetEMup on the Bonus Tools Ribbon or use 115 Search Tools.
The dialog opens with three panels: Sheets (left), New Sheets grid (middle), and Views (right).
Step 1 — Set the number of new sheets
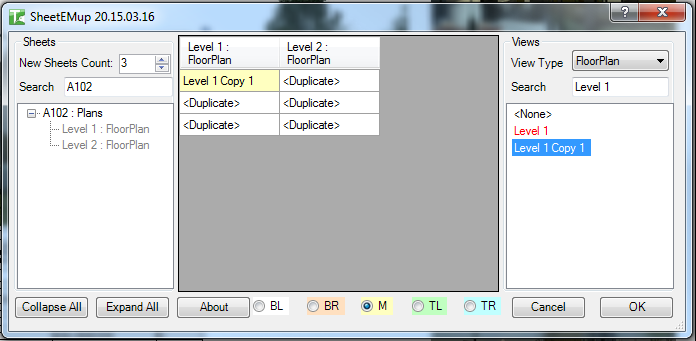
Enter the number of sheets to create in the New Sheets Count field. The middle grid updates to show that many rows.

Step 2 — Select a template sheet
On the left panel, use Search by Parameter and the search field to filter sheets, then expand and select a sheet. The middle grid columns update to reflect the viewport positions on that sheet.
You can use Collapse All and Expand All buttons to manage the tree when the project has many sheets.
Step 3 — Assign views to viewport positions
Each column in the middle grid represents a viewport position from the template sheet. Each cell defaults to <Duplicate> (duplicate the template view into this position).
To change a cell's assignment:
- In the right-hand Views list, use the View Type dropdown and search field to filter views
- Drag a view from the list onto the target cell in the grid
| Cell value | Behaviour |
|---|---|
<Duplicate> | Creates a duplicate of the template view in this position |
<None> | Leaves this viewport position empty on the new sheet |
| A view name | Places that specific view at this position |
Views shown in red in the views list are already placed on another sheet. If dragged onto a cell, they will be duplicated.
Step 4 — Bulk-assign schedules or legends
To assign the same view (e.g., a legend or schedule) to multiple sheets at once:
- Click and drag to highlight multiple cells in a column, or Ctrl+click individual cells
- Right-click and select Add view to selected Sheets
- Select the view from the dialog
Step 5 — Choose a base point
Select one of the base point radio buttons to control how viewports are positioned on the new sheets relative to the template:
| Option | Meaning |
|---|---|
| BL | Bottom Left of the viewport bounding box |
| BR | Bottom Right |
| M | Middle (centre) |
| TL | Top Left |
| TR | Top Right |
Step 6 — Click OK and set sheet parameters
Click OK. The tool creates the new sheets and places the assigned views. A progress indicator is shown.
After sheet creation, the Change Parameters dialog appears automatically, allowing you to:
- Select a titleblock for the new sheets
- Set sheet number start, increment, prefix, and suffix
- Modify any other sheet parameters
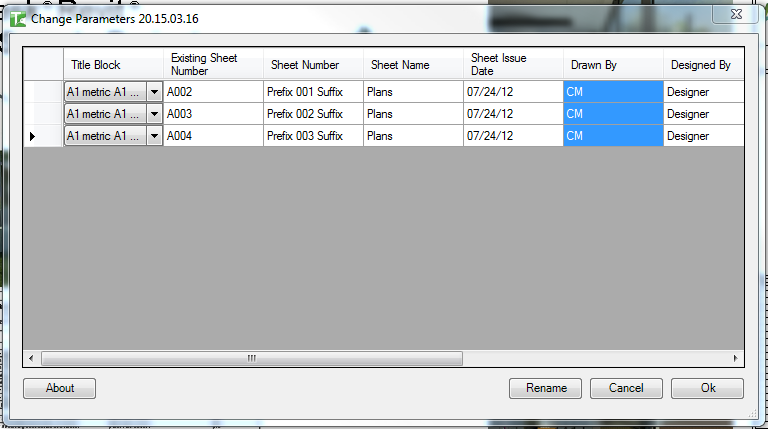
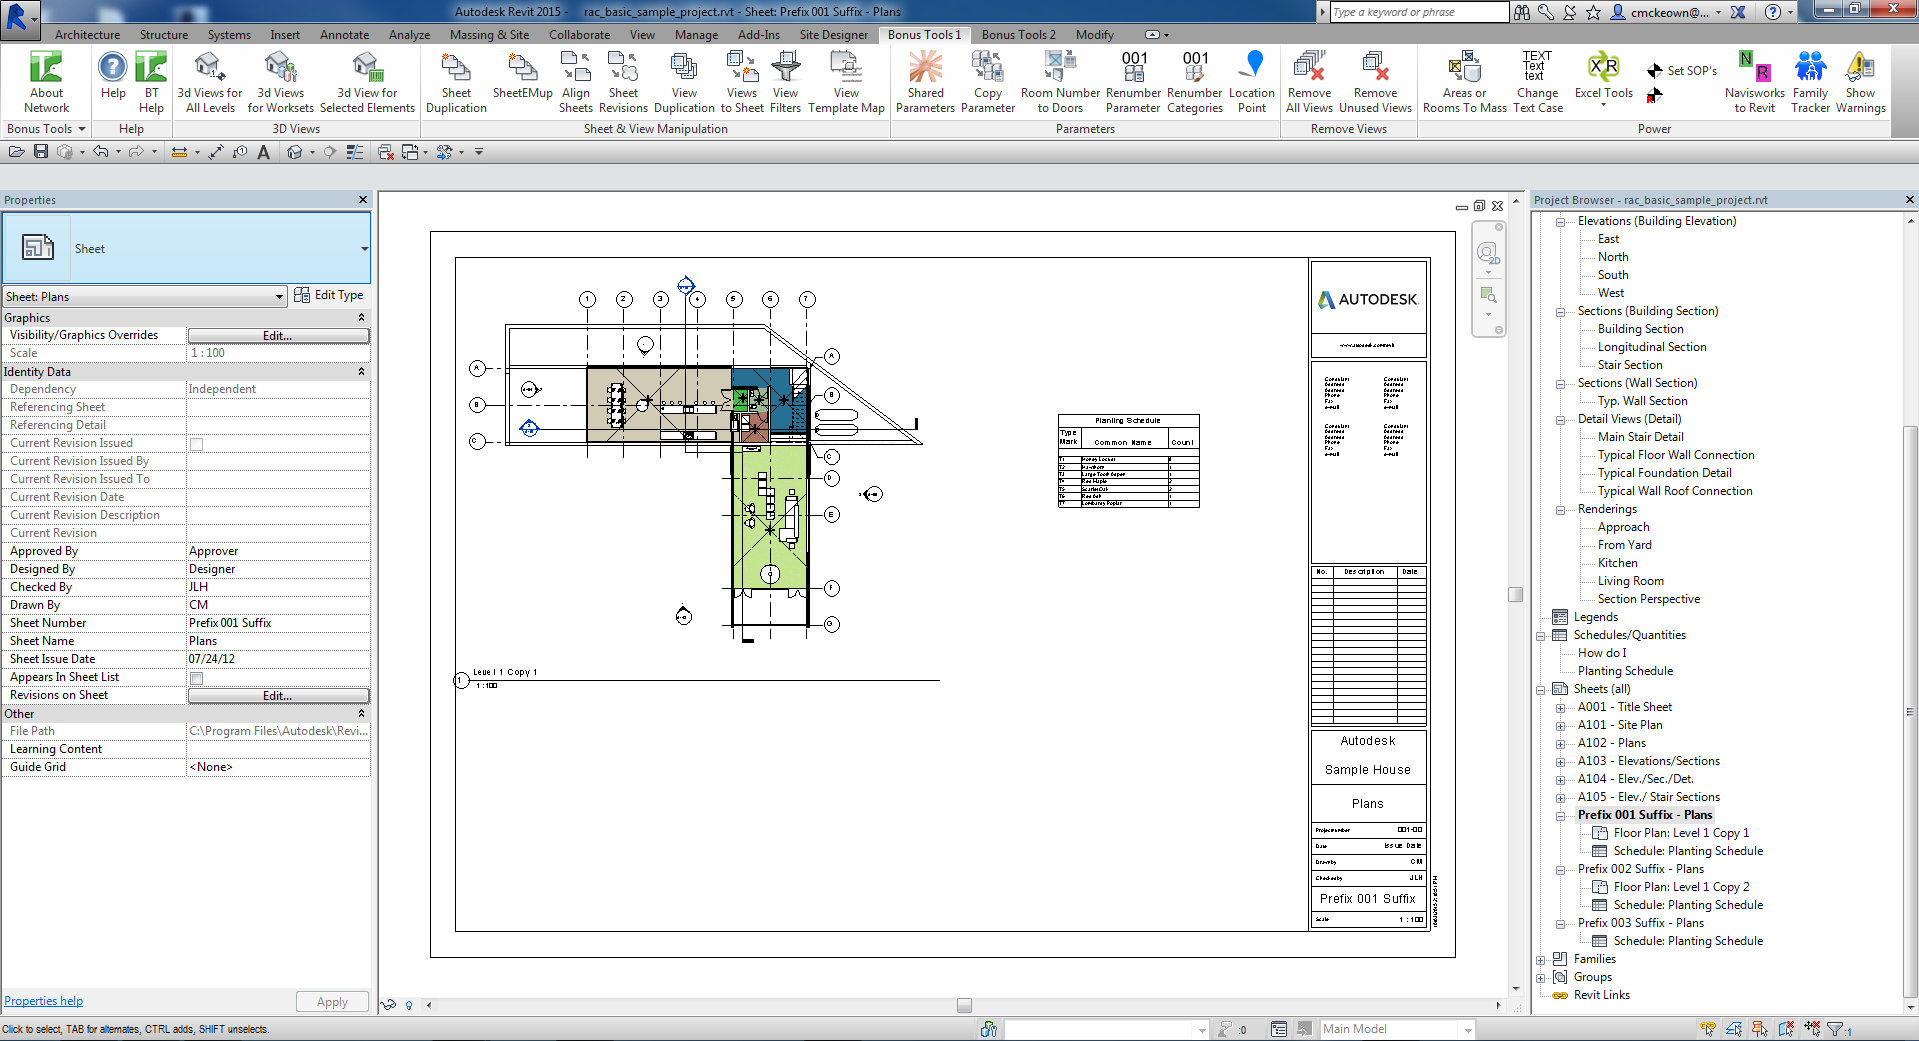
Confirm in the Change Parameters dialog to complete the operation. The new sheets appear in the Revit project browser:
Tips and Best Practices
- Set New Sheets Count before selecting the template. The grid builds its columns from the template sheet, so set the count first to avoid having to reset after grid columns appear.
- Use
<None>for variable-content sheets. If some new sheets need fewer viewports, drag<None>onto the unused positions to avoid empty viewport frames. - Duplicate vs. specific view. Use
<Duplicate>when each sheet needs its own independent copy of a view (e.g., a floor plan per level). Use a specific view when the same view (e.g., a north arrow or cover sheet schedule) should appear on all sheets. - Assign legends and schedules via right-click bulk assignment. This is much faster than dragging the same legend onto every row individually.
- Red views will be duplicated. If you drag a red (already-placed) view onto a cell, Revit will create a duplicate of it for each sheet. This is the intended behaviour for views that need one copy per sheet.
- Use the Change Parameters dialog to number sheets efficiently. Set the increment and start value to automatically number all new sheets in sequence without editing each one manually.
Common Use Cases
Creating a level-by-level sheet set — Select a floor plan template sheet, set the count to match the number of levels, and assign each level's floor plan view to the corresponding row. Click OK to generate the complete sheet set at once.
Generating issue sheets with common content — Create multiple sheets that share a common legend or schedule by assigning the same view to that column using right-click bulk assignment across all rows.
Setting up a new project sheet structure — At the start of a project, create all the required sheets in one run from a master template, then use the Change Parameters dialog to number them according to the drawing register.
Producing discipline-based sheet batches — Filter the views list by type (e.g., Section) and systematically assign section views to sheet positions, producing a complete set of section sheets in a single operation.
Troubleshooting
"Complete. X view(s) add to sheets." with fewer than expected Some viewports could not be placed. This typically means a view is already placed on a sheet and cannot be placed again without duplicating, or the view type is incompatible with the titleblock's placeholder viewport. Check the Revit output window for details.
New sheets created but views are not positioned correctly The base point setting may not match the template viewport sizes. If views are different sizes, use the M (middle) base point for most consistent alignment.
Change Parameters dialog does not appear If sheet creation failed entirely (0 sheets created), the Change Parameters dialog will not show. Verify the template sheet is not a placeholder sheet and that a titleblock is loaded.
No views appear in the Views list The View Type filter may be excluding all views, or no views exist in the project. Switch the View Type dropdown to All to show everything.
Duplicate views appear after running
When <Duplicate> is used, Revit creates independent duplicate copies of each template view. This is expected — each duplicate can be modified independently. If you need to avoid duplicates, use a specific view assignment instead.