039 Align Sheets
Chris McKeown / July 1, 2025
Sheet & View Manipulation
Overview
Align Sheets matches the viewport positions on multiple target sheets to a template sheet. Select a template sheet on the left, tick the views you want to use as reference positions, enter Match Text for each view, then select one or more target sheets on the right. The tool finds views on the target sheets whose names contain the Match Text and repositions them to match the template — saving the repetitive work of manually aligning viewports across a set of similar sheets.
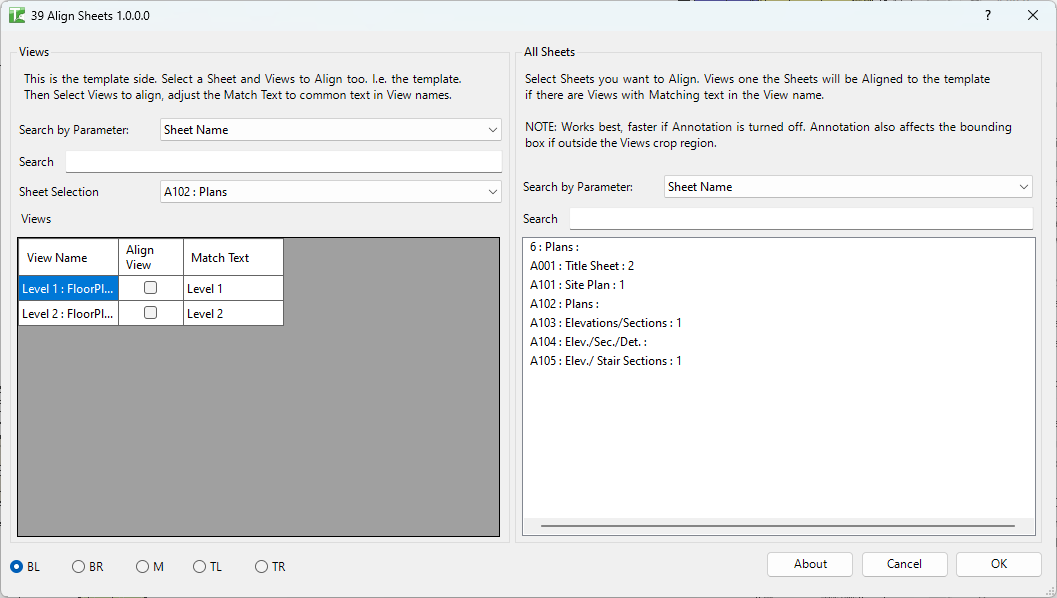
Table of Contents
Key Features
- Template-based alignment — pick a master sheet whose view positions are used as the reference
- Match Text — partial view name matching locates the corresponding view on each target sheet
- Per-view Align View checkbox — select only the views you want to align; leave others unaffected
- Five base point options — align from Bottom Left, Bottom Right, Middle, Top Left, or Top Right of the viewport bounding box
- Target sheet search — filter the target sheet list by any parameter to find the right sheets quickly
- Bulk target selection — select one or many target sheets with standard Shift/Ctrl click
- Result counter — reports the number of views successfully aligned and any failures
Requirements
- Template and target sheets must exist in the project
- The views to align must be placed on both the template sheet and the target sheets
- View names on target sheets must contain the Match Text entered for each template view
- A valid Kiwi Codes Bonus Tools licence must be active
Performance note: The tool works best when annotation is turned off in the views being aligned. Annotation elements that extend outside the view's crop region affect the viewport bounding box and may shift the calculated base point.
Running the Tool
Launch
Find Align Sheets on the Bonus Tools Ribbon or use 115 Search Tools.
The dialog opens with two panels: the template (left) and the target sheets (right).
Step 1 — Select a template sheet
On the left panel, use Search by Parameter and the Search field to filter the sheet list, then select a sheet from the Sheet Selection dropdown. The Views grid below populates with all viewports placed on that sheet.
Step 2 — Select views to align and enter Match Text
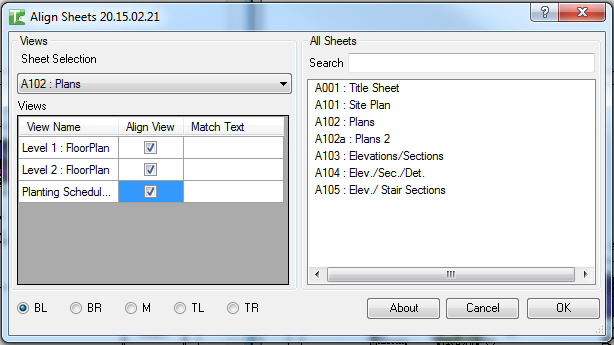
For each view you want to align:
- Tick the Align View checkbox in the Views grid
- Enter text in the Match Text column — this is the partial view name the tool uses to find the equivalent view on target sheets
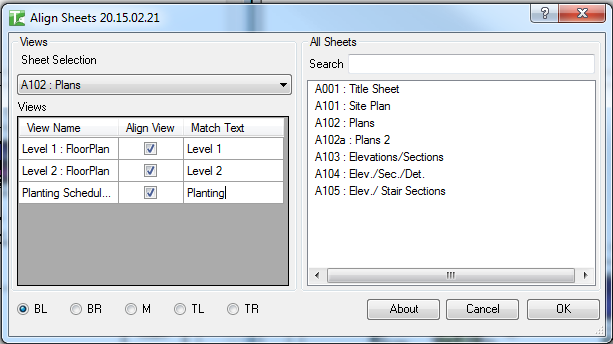
The Match Text does not need to be the full view name — a distinctive partial match (e.g.,
Level 1,Level 2) is sufficient. The tool matches the first view on the target sheet whose name contains this text.
Step 3 — Choose a base point
Select a base point radio button at the bottom of the dialog:
| Option | Meaning |
|---|---|
| BL | Bottom Left of the viewport bounding box |
| BR | Bottom Right |
| M | Middle (centre) |
| TL | Top Left |
| TR | Top Right |
The base point determines which corner of the viewport is used when calculating the alignment position. For views using Scope Boxes of the same size, any base point gives consistent results. Use Middle when views have varying extents.
Step 4 — Select target sheets
On the right panel, use Search by Parameter and the Search field to filter the sheet list:
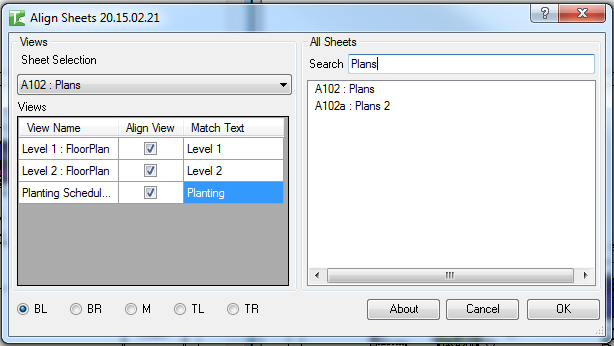
Select one or more target sheets using standard Shift+click (range) or Ctrl+click (individual). The number after each sheet name shows how many views it contains.
Step 5 — Run the alignment
Click OK. The tool repositions matching viewports on each selected target sheet.
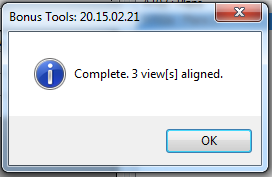
A confirmation reports how many views were aligned:
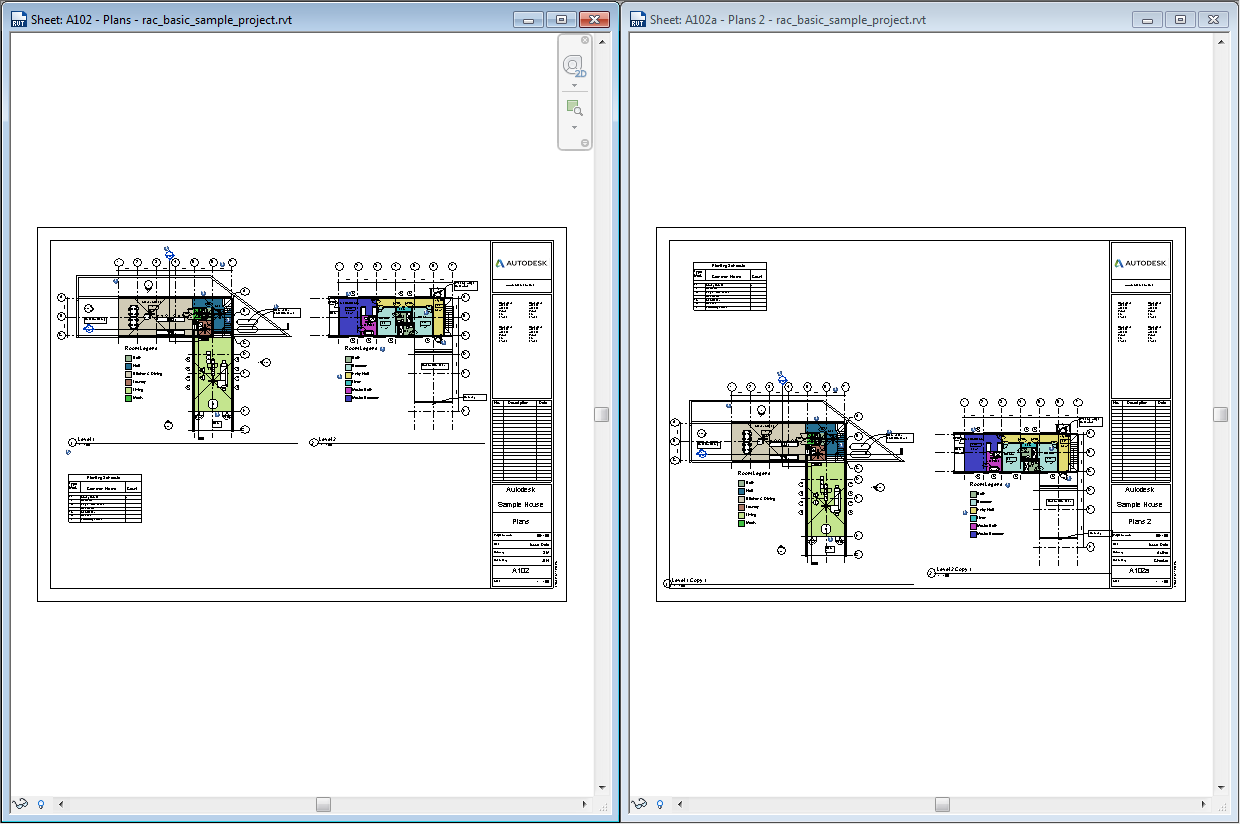
Before alignment — views on the target sheet are in different positions:
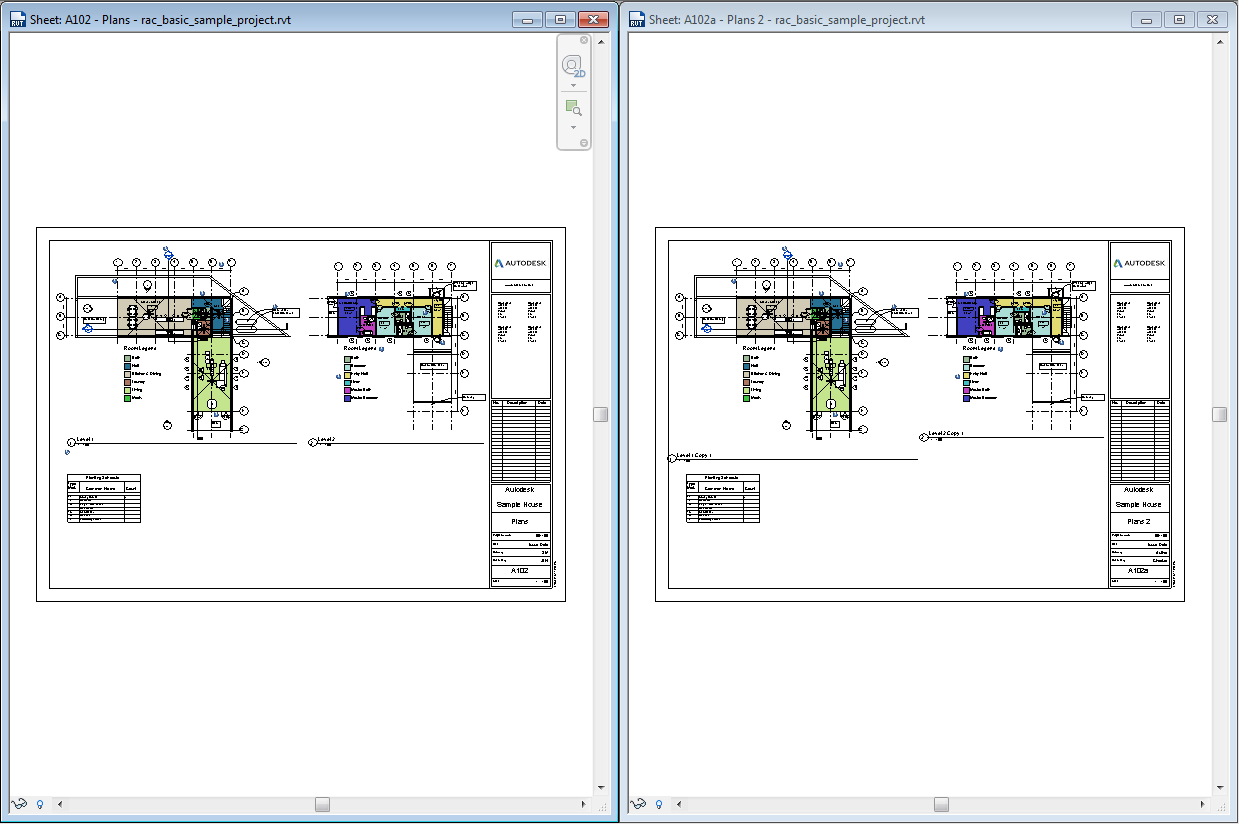
After alignment — target sheet views now match the template layout:
Tips and Best Practices
- Use Scope Boxes for consistent viewport sizes. When all views share the same Scope Box (same crop region size), the base point calculation is precise regardless of which option you choose. Views with different sizes may require Middle as the base point.
- Turn off annotation before aligning. Text and tags that extend outside the crop region expand the viewport bounding box, shifting the calculated base point. Turn off Annotation Categories in the view visibility settings first, then realign.
- Match Text should be unique per sheet. If two views on the target sheet contain the same Match Text, the tool picks the first match. Use a more specific substring to target the correct view.
- Use Search to build your target list. In a large project, search by sheet name prefix (e.g.,
A1) to quickly filter the relevant sheets before selecting. - Undo is available. The alignment runs as a single Revit transaction ("Align Views"). Use Ctrl+Z to reverse all changes if the result is not as expected.
- Template sheet is not modified. Only the target sheets are changed; the template sheet remains unchanged.
Common Use Cases
Standardising plan layouts across a sheet set — Create a master floor plan sheet with views positioned exactly as required, then use Align Sheets to push those positions to all other plan sheets in the set.
After view re-crop or scope box change — When a Scope Box or crop region is adjusted on one sheet, use Align Sheets to redistribute the repositioned viewport to all matching sheets rather than moving each one manually.
Coordinating between disciplines — When sharing a sheet layout with a structural or MEP consultant, use the template sheet to maintain consistent viewport positions across all discipline sets.
Quickly setting up a new sheet — Create a new sheet, place views on it, then use Align Sheets with a standard template to immediately position all views to the office standard layout.
Troubleshooting
"Please select a Sheet and Views as the template." No template sheet is selected, or no views in the Views grid have Align View checked. Select a sheet from the Sheet Selection dropdown and tick at least one Align View checkbox before clicking OK.
"Align Sheets failed. Gain ownership of elements and try again." One or more viewports on a target sheet are owned by another user in a workshared model. Gain ownership of the affected sheets and viewports via Worksets or Editing Requests, then retry.
"X passed. Y failed." with failures Some views could not be repositioned. This typically means the Match Text did not find a matching view on that target sheet, or the view is part of a group or is pinned. Check that Match Text values correspond to view names on the target sheets.
Views aligned but at wrong position Annotation elements may be extending outside the crop region, shifting the bounding box. Turn off annotation in the template view, re-select the template, and run again with annotation turned off on both template and target views.
Target sheet list is empty The project has no other sheets, or all sheets are filtered out by the Search field. Clear the Search field and verify sheets exist in the project.