035 View Filters
Chris McKeown / July 1, 2025
Sheet & View Manipulation
Overview
View Filters lets you assign or remove Revit view filters across multiple views and view templates in a single operation. The left panel shows the filters currently applied to a selected view; the right panel shows a tree of all views with their applied filters as child nodes. Drag a filter from the left panel onto view nodes in the tree to assign it, or drag a filter node out of the tree to remove it. Click OK to apply all changes at once, replacing the need to open Visibility/Graphic Overrides for each view individually.
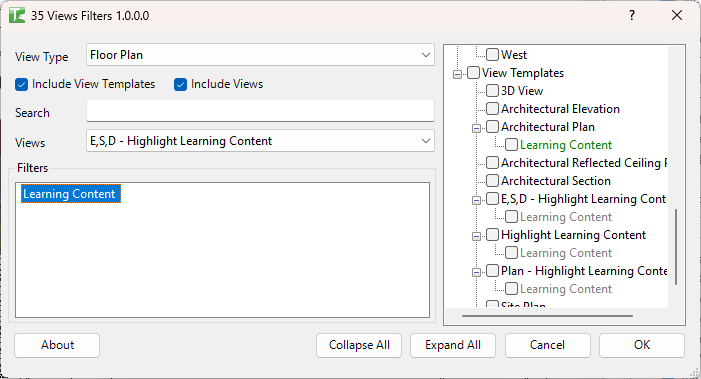
Table of Contents
Key Features
- Drag-and-drop filter assignment — drag filters from the source list onto view nodes to assign; drag filter nodes out of the tree to remove
- Right-click shortcut — right-click selected tree items to add a filter to multiple views simultaneously
- View Type filter — narrow the view list by type: All, Floor Plan, Elevation, Section, 3D, Detail, Schedule, Rendering
- Include View Templates / Include Views — toggle whether view templates, views, or both are shown in the tree
- Search and dropdown — search by view name and use the Views dropdown to select a source view to inspect its filters
- Collapse All / Expand All — manage the tree display for large projects
- Results summary: reports views processed, filters added, filters removed, and failures
Requirements
- View filters must already exist in the project (created via Manage → Filters)
- Any Revit project document
- A valid Kiwi Codes Bonus Tools licence must be active
Running the Tool
Launch
Find View Filters on the Bonus Tools Ribbon or use 115 Search Tools.
The dialog opens with View Type set to All and the full project view tree expanded on the right.
Step 1 — Filter the view list
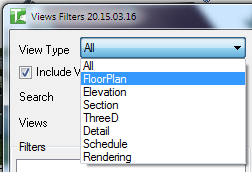
Use View Type to narrow the tree to a specific view type:
| View Type | Shows |
|---|---|
| All | All views and view templates |
| FloorPlan | Floor plan views |
| Elevation | Elevation views |
| Section | Section views |
| ThreeD | 3D views |
| Detail | Detail views |
| Schedule | Schedules |
| Rendering | Renderings |
Use the Include View Templates and Include Views checkboxes to further control what appears in the tree.
Step 2 — Select a source view
Use the Search field to filter the Views dropdown, then select a view whose filters you want to work with:
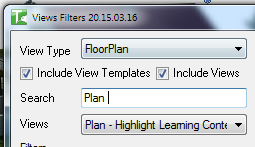
The Filters list on the left populates with all filters currently applied to the selected view.
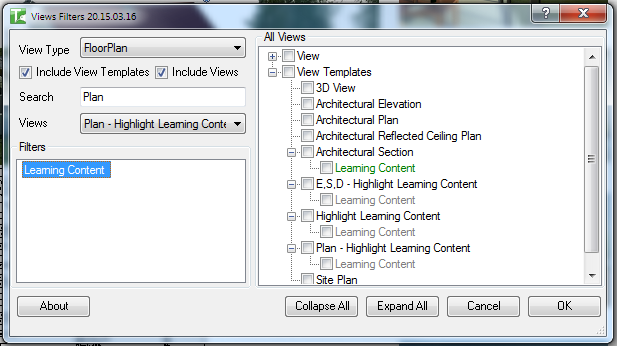
Step 3 — Assign filters to views
With the full tree visible on the right, drag a filter from the Filters list onto any view node in the tree. The filter appears as a child node under that view, indicating it is now queued for assignment.
Tip: Right-click selected tree nodes and choose Add filter to selected views to assign a filter to multiple views at once without dragging each individually.
Step 4 — Remove filters from views
To remove a filter from a view, drag the filter child node from the tree back into the Filters list. A confirmation dialog appears:
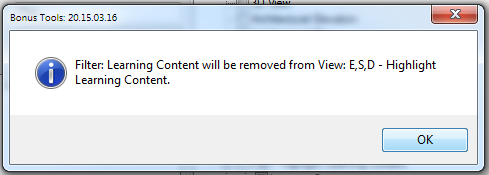
Click OK to confirm. The filter node is removed from that view in the tree.
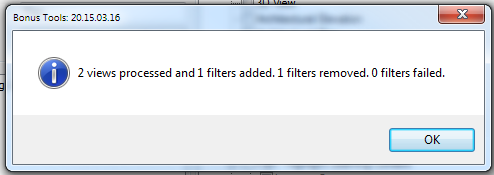
Step 5 — Apply changes
Click OK to apply all queued additions and removals. A results summary is shown:
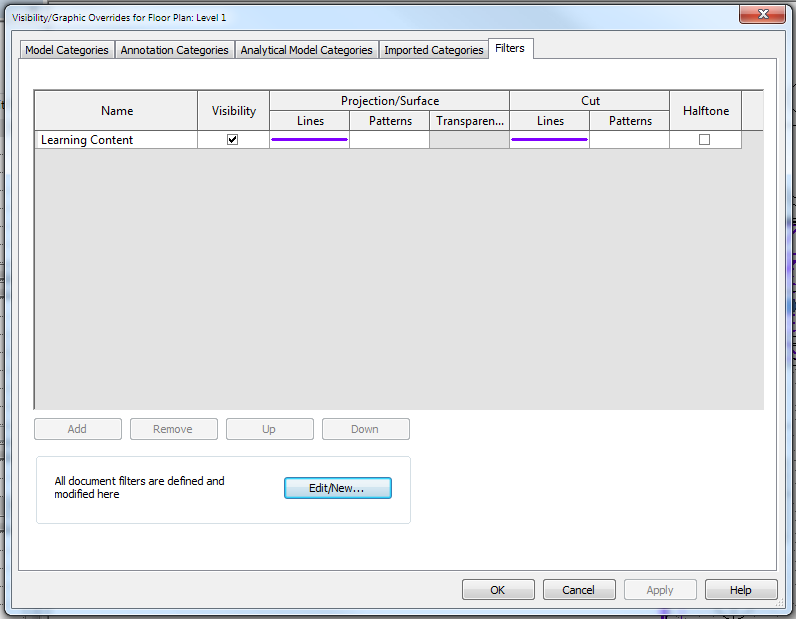
The assigned filters are now visible in Revit's Visibility/Graphic Overrides dialog for each updated view:
Tips and Best Practices
- Filters must exist before running. This tool assigns existing filters — it does not create them. Use Manage → Filters to create the filter first, then use this tool to distribute it.
- Use View Templates for consistency. Assigning a filter to a view template applies it to all views using that template, giving you a single point of control.
- Use Collapse All for large projects. With many views, the tree becomes difficult to navigate. Collapse to the top level first, then expand only the sections you need.
- Right-click is faster for bulk assignment. Multi-select view nodes in the tree (Ctrl+click), right-click, and assign the filter in one action rather than dragging to each node.
- Include View Templates and Include Views control scope. If you only want to update view templates (not individual views), uncheck Include Views to reduce tree noise.
- Check the results summary. If filters failed to apply, the summary shows the count. This typically indicates a view type incompatibility (e.g., a floor plan filter applied to a 3D view).
Common Use Cases
Applying a new office standard filter to all floor plans — Create the filter in Manage → Filters, then use View Filters with View Type set to FloorPlan to assign it to every floor plan view in one pass.
Distributing a filter from one view template to others — Select the source view template in the Views dropdown to see its filters, then drag them onto the target view template nodes in the tree.
Removing a retired filter from all views — Expand the tree, locate all views showing the old filter as a child node, and drag those nodes back to the Filters list to queue their removal before clicking OK.
Setting up view templates before issuing drawings — Before a document issue, use this tool to confirm every view template has the correct filters applied and remove any filters left over from design development.
Troubleshooting
Filters list is empty after selecting a view The selected view has no filters applied. Select a view that already has filters, or create the required filters via Manage → Filters first.
Tree is empty or missing expected views Check the Include View Templates and Include Views checkboxes. If both are unchecked, the tree will be empty. Also check the View Type dropdown — switching to All will show everything.
"X filters failed" in the results Certain filter types cannot be applied to certain view types (for example, model category filters cannot apply to schedules). Review which views reported failures and verify that the filter category is compatible with that view type.
Filter not visible in Revit after clicking OK Verify the filter was applied by opening Visibility/Graphic Overrides (VG) for the updated view and checking the Filters tab. If the filter is listed but not visible in the view, check the filter's Visibility checkbox and graphic overrides.