022 Views to Sheets
Chris McKeown / July 1, 2025
Sheet & View Manipulation
Overview
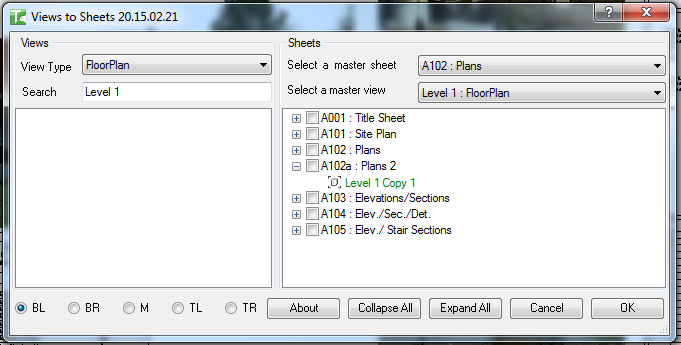
Views to Sheets provides a drag-and-drop interface for placing unplaced views onto sheets in bulk. The left panel lists all views not currently on any sheet; the right panel shows a tree of all sheets with their current viewports as child nodes. Drag views across to place them, drag them back to remove, and use a template sheet/view reference to control exactly where each viewport lands. All changes are committed in a single transaction when you click OK — cancel discards everything.
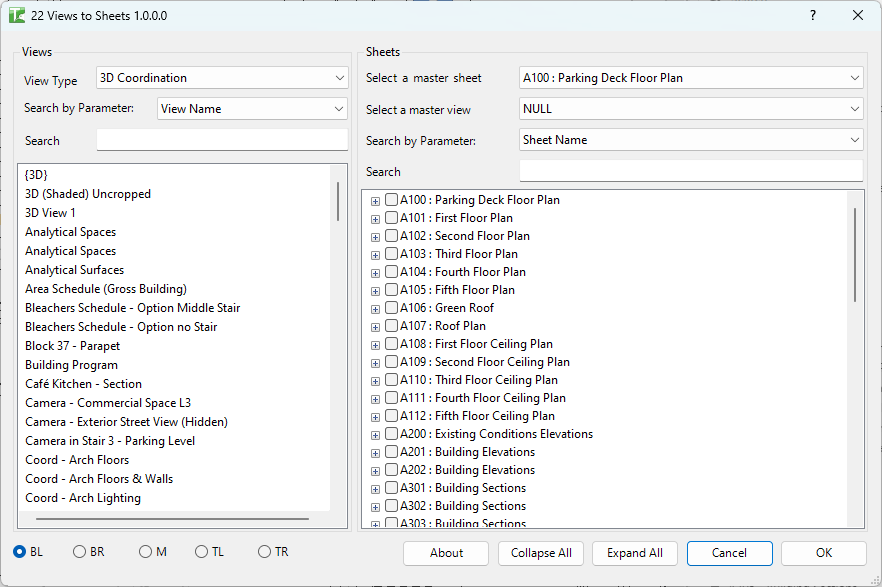
Table of Contents
Key Features
- Split-panel layout: unplaced views on the left, sheet tree with current viewports on the right
- View type filter dropdown — filter the view list by view family type (Floor Plan, Section, Elevation, Schedule, Legend, etc.) or show All
- Keyword search — type to filter both the view list and the sheet tree simultaneously
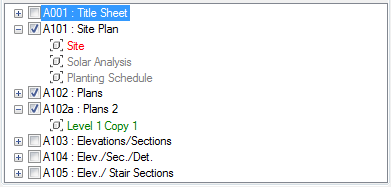
- Colour coding: existing viewports appear grey; newly placed views are green; views marked for removal are red
- Base-point placement — five radio buttons control where a dragged view is placed relative to a template reference: Bottom Left, Bottom Right, Top Left, Top Right, Middle
- Template position — choose a source sheet and a source view to use as a positional reference for the new viewport
- Schedules and legends: legends can be dragged to multiple sheets (the same legend can appear on many sheets); schedules follow the same behaviour. Right-click a legend or schedule to bulk-add it to all checked sheets
- Collapse All / Expand All controls for the sheet tree
- Transaction: "Views to Sheets" — all adds and removes committed at once when OK is clicked
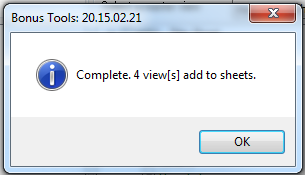
- Confirmation: "Complete. X view[s] add to sheets."
Requirements
- Any Revit project document (not available in the Family environment)
- A valid Kiwi Codes Bonus Tools licence must be active
Running the Tool
Launch
Find Views to Sheets on the Bonus Tools Ribbon or use 115 Search Tools.

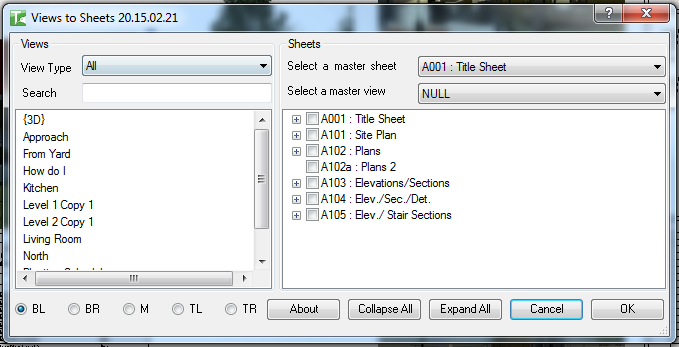
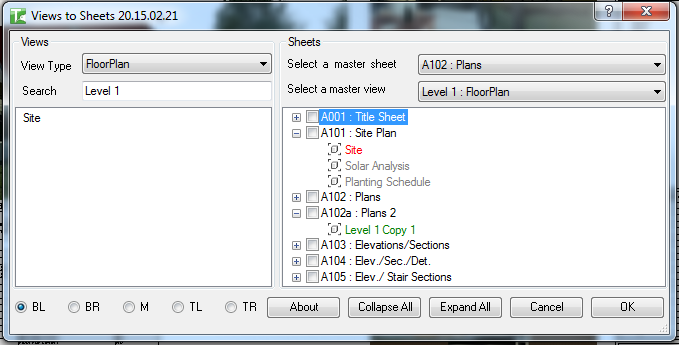
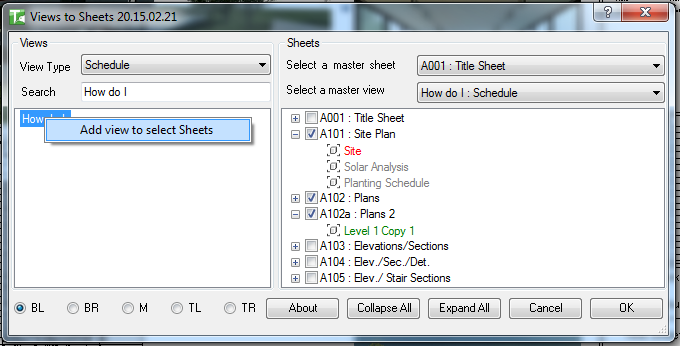
The dialog opens immediately, loading all unplaced views on the left and all sheets (with their current viewports) on the right:
The left panel shows only views that are not currently placed on any sheet (excluding schedules, which may appear on multiple sheets). Legends and schedules can appear in the left panel regardless of their current placement.
Step 1 — Filter and find views
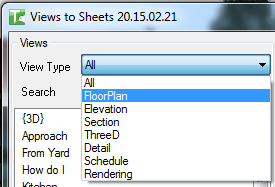
Use the View Type dropdown to narrow the left panel to a specific view family:
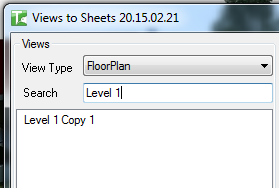
Type in the Search box to filter by view name:
Step 2 — Set a template position (optional)
To place views at a specific position rather than the sheet origin, select a reference sheet and view using the two dropdowns below the view list:
Sheet dropdown — select the source sheet containing the reference view:
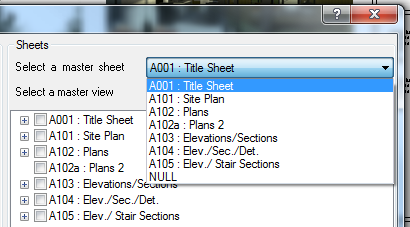
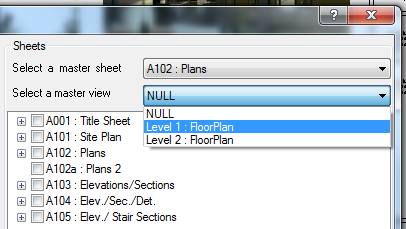
View dropdown — select the specific view on that sheet to use as the position reference:
Leave both set to NULL to place views at the sheet origin.
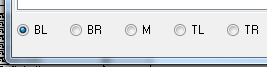
Step 3 — Choose a base point
Select one of the five base-point radio buttons to control which corner (or centre) of the new view aligns to the position defined by the template reference:
| Base Point | Alignment |
|---|---|
| Bottom Left | New view's bottom-left corner aligns to reference |
| Bottom Right | New view's bottom-right corner aligns to reference |
| Top Left | New view's top-left corner aligns to reference |
| Top Right | New view's top-right corner aligns to reference |
| Middle | New view's centre aligns to reference |
Base-point placement works best when views are sized with a Scope Box. If text annotations extend outside the view crop, the outermost bounding point may not match the crop boundary.
Step 4 — Drag views to sheets
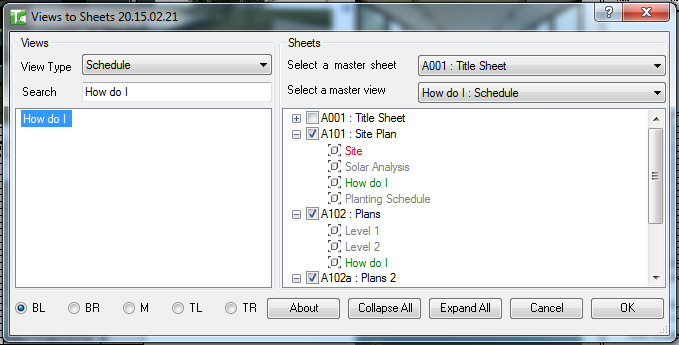
Select one or more views in the left panel and drag them onto the target sheet node in the right tree. Newly placed views appear as green child nodes under the sheet; existing viewports remain grey.
Non-schedule, non-legend views are removed from the left panel once placed (a view can only be on one sheet at a time). Schedules and legends remain in the left panel and can be placed on multiple sheets.
Step 5 — Remove views from sheets (optional)
To remove a view from a sheet, expand the sheet node and drag the child view back to the left panel. A confirmation prompt appears before removal is staged.
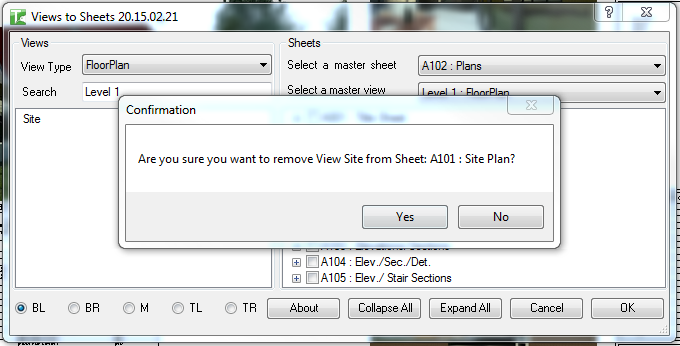
Views marked for removal appear red in the tree:
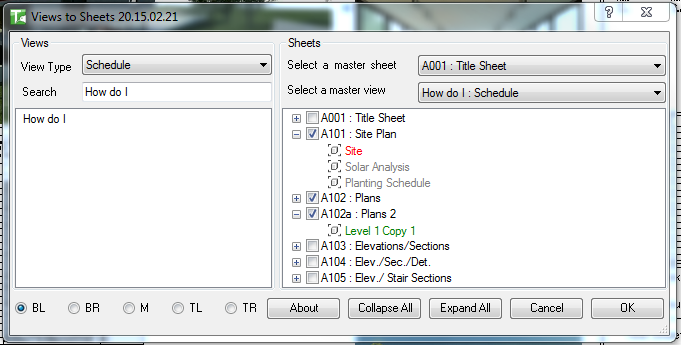
Step 6 — Bulk-add schedules or legends to multiple sheets
To place a schedule or legend on several sheets at once:
-
Check the target sheets in the right tree:
-
Set the template sheet and view if you want a positional reference:
-
Right-click the schedule or legend in the left panel and select Add view to selected Sheets:
-
The schedule or legend is added to all checked sheets:
Use Collapse All and Expand All to manage the tree view:

Step 7 — Commit changes
Click OK to apply all staged changes (additions in green, removals in red). A confirmation reports the total views added:
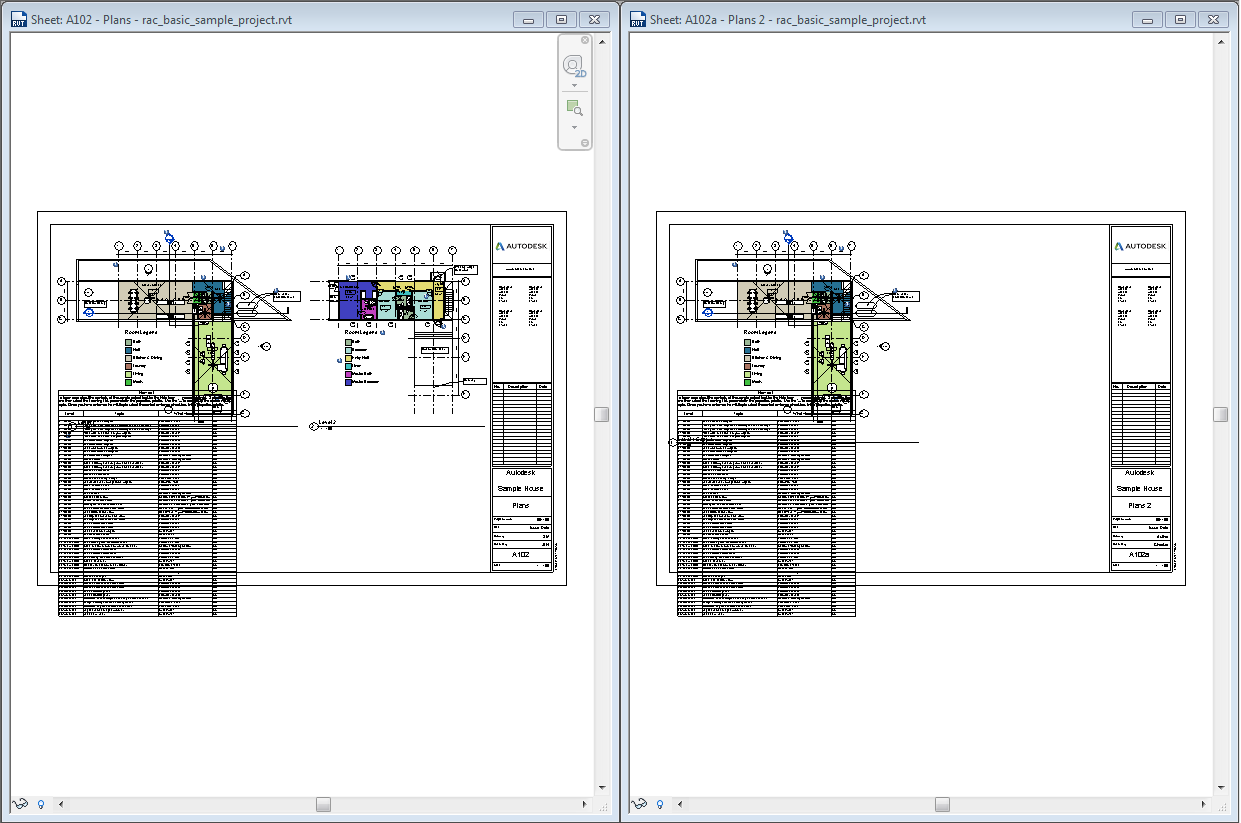
The Project Browser reflects the updated sheet contents:

Views placed using a template position appear at the correct location relative to the reference:
The Viewport Title type is matched to the source, but title position is not transferred — this is a current Revit API limitation.
Click Cancel to discard all staged changes. No changes are written to the model.
Tips and Best Practices
- Use the View Type filter first — on large projects the view list can be long. Filter to the relevant type before searching by name.
- Schedules and legends can be dragged to multiple sheets — they remain in the left panel after being placed, unlike regular views which are removed once placed on a sheet.
- Uncheck the template view (set to NULL) for centre-of-sheet placement — if you have no positional reference, leaving both dropdowns as NULL places new viewports at the sheet origin (0,0).
- Use Scope Boxes to stabilise base-point placement — when views are consistently bounded by a Scope Box, the outermost point is predictable and placement aligns accurately to the reference.
- Stage all changes before clicking OK — the dialog shows a full preview of additions and removals before anything is committed. Use this to review your work before the transaction is applied.
- Collapse All improves readability — collapse the sheet tree after arranging views to confirm which sheets have been modified (modified sheets show a "1" tag internally).
Common Use Cases
Placing a new set of views onto sheets for a drawing issue — At the start of an issue, filter the view list to the relevant view type (e.g. Floor Plan), then drag each approved view to its target sheet. Set a template position to match an existing drawing's viewport location.
Bulk-placing a revision schedule on all issue sheets — Check all target sheets in the tree, set the template position to an existing revision schedule placement, right-click the schedule, and use Add view to selected Sheets.
Reorganising views between sheets — Remove views from their current sheets by dragging them back to the left, then drag them to the correct sheets in the same session. All changes are staged and committed together when OK is clicked.
Placing a north arrow legend on multiple sheets — Because legends can be on multiple sheets, drag the north arrow legend from the left panel to every sheet that needs it in a single session.
Setting up a new drawing register — After creating blank sheets with Sheet Duplication (tool 021), use Views to Sheets to assign the correct views to each sheet in one bulk operation.
Troubleshooting
"Action not available in the Family environment." The tool requires a project document. Close the Family editor and open the project file.
"Complete. 0 view[s] add to sheets." No staged additions were committed — either no views were dragged, or only removals were applied. Check the sheet tree for any green nodes before clicking OK.
A view appears grey in the left panel Views that are already placed on at least one sheet do not appear in the left panel (except schedules and legends). Use the sheet tree to locate and manage that view's current placement.
A dragged view did not land where expected If no template sheet/view is set (both dropdowns are NULL), views are placed at the sheet origin. Set a positional reference and a base point to control exact placement.
View placement position does not match the reference Annotations or tags that extend outside the view's crop boundary shift the bounding box used for alignment. Apply a Scope Box to crop the view tightly, then re-drag.
Viewport Title type does not match The Viewport Title type is copied from the reference view, but the title position is not transferred — this is a Revit API limitation. Adjust the title position manually after placement.