018 Remove All Views
Chris McKeown / July 1, 2025
Review Views
Overview
Remove All Views presents the project's views, sheets, DWG files, and Revit links in four separate grids with individual checkboxes controlling which categories to delete. Use it to strip a model down before issuing to consultants, archiving, or publishing — removing unused views, sheets, and imported CAD in one controlled operation rather than manually deleting each item. A confirmation prompt and a per-category pass/fail summary give full visibility over what was removed.
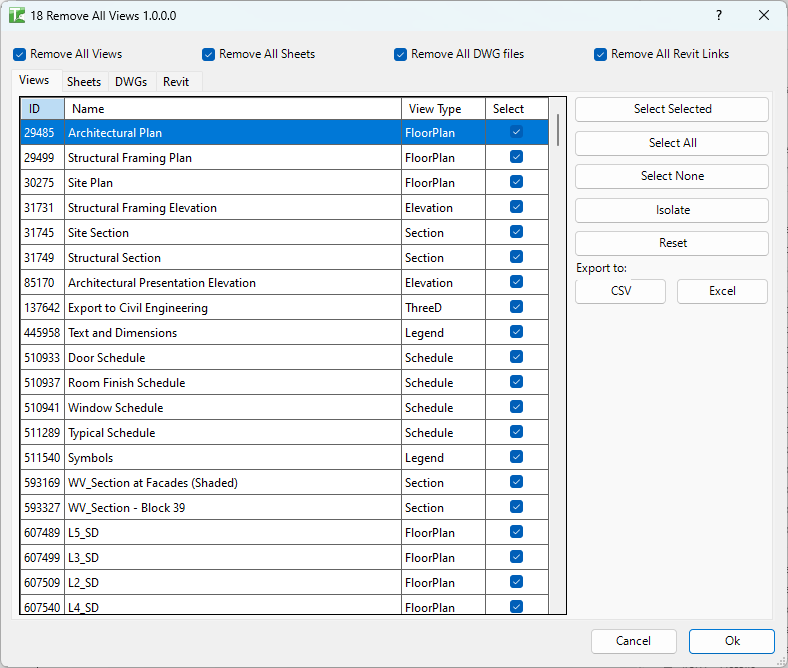
Table of Contents
Key Features
- Four independent grids — Views, Sheets, DWG/imported CAD files, Revit Links
- Four checkboxes (all checked by default) — enable or disable deletion of each category independently
- Views grid excludes system views that cannot be deleted: Internal views, DrawingSheet types, SystemBrowser, ProjectBrowser, title block revision schedules, and views named
??? - Selection per grid: Select All / Select None — or tick checkboxes individually
- Confirmation dialog before any deletion occurs
- Transactions: "Delete all views" and "Delete all sheets"
- Per-category output: pass and fail counts for Views, Sheets, DWGs, and Revit Links
- Output dialog exportable for audit records
Requirements
- Any Revit project document
- Close views you want to keep open before running — the tool targets all views in the project, not just closed ones
- A valid Kiwi Codes Bonus Tools licence must be active
Running the Tool
Launch
Before running, close all views you want to preserve, leaving open only the view(s) you want to retain.
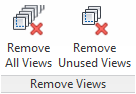
Find Remove All Views on the Bonus Tools Ribbon or use 115 Search Tools.

Step 1 — Review the four grids
The dialog opens with all four grids populated and all four category checkboxes enabled:
Views grid — lists all deletable views. System views (Internal, ProjectBrowser, SystemBrowser, DrawingSheet types, and title block revision schedules) are excluded automatically and cannot be deleted by this tool. Views named ??? are also skipped.
Sheets grid — lists all sheet views in the project.
DWGs grid — lists all imported CAD files (DWG/DWF instances) in the project.
Revit Links grid — lists all Revit link instances in the project.
Within each grid, use Select All or Select None, or tick individual rows.
Step 2 — Choose categories to delete
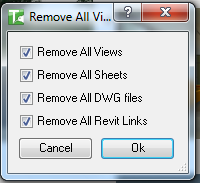
Use the four checkboxes to control which categories are included in the delete operation:
| Checkbox | What it deletes |
|---|---|
| Remove All Views | All views selected in the Views grid (excluding system views) |
| Remove All Sheets | All sheets selected in the Sheets grid |
| Remove All DWG files | All imported CAD files selected in the DWGs grid |
| Remove All Revit Files | All Revit link instances selected in the Revit Links grid |
Uncheck any category to skip it entirely. Only categories with their checkbox enabled will be processed.
Step 3 — Confirm and delete
Click OK. A confirmation dialog appears:
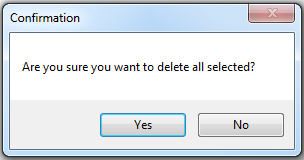
Click Yes to proceed. The tool processes each enabled category in sequence.
An output dialog shows the number of views deleted:
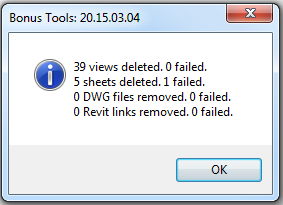
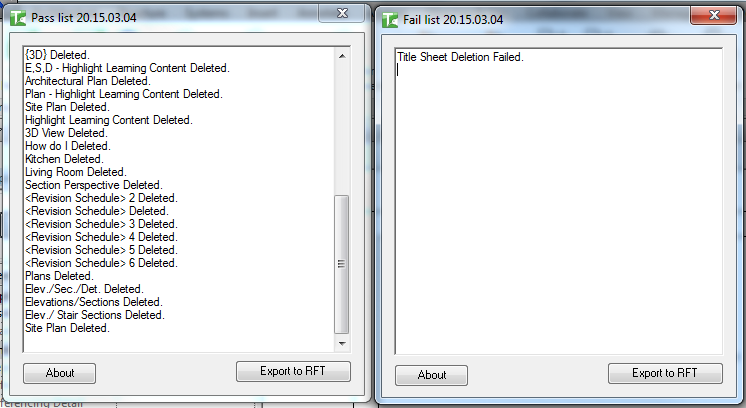
A final summary shows the detailed pass and fail counts for each category:
Click Cancel on the main dialog to abort without making any changes.
Tips and Best Practices
- Close views you want to keep before running. Although the tool targets all project views, keeping important views open in Revit helps you confirm which view will remain after the deletion run.
- Uncheck categories you don't want to delete. All four checkboxes are on by default — deliberately uncheck Revit Links or Sheets if you only want to clear views and CAD, for example.
- Use Select None then manually select rows for targeted cleanup. If you only want to remove specific views (not all), click Select None in the Views grid, then tick only the rows you want to delete.
- The active view is protected. Revit will not delete the view that is currently active. If you need to delete a specific view, switch to a different view first.
- System views are always excluded. ProjectBrowser, SystemBrowser, and internal views are filtered out — they cannot be accidentally deleted by this tool.
- Export the output before closing. The output dialog lists every deleted and failed item. Export it for an audit record before dismissing.
Common Use Cases
Pre-issue model cleanup — Before issuing to a consultant, close the sheets you want to keep, run Remove All Views with Views + DWG enabled, and strip out all working views and imported CAD in one pass.
Archive model preparation — Strip all working views, leaving only the issued sheet set. Enable Remove All Views only, confirm, and the archived model contains only the sheets from the last issue.
Removing all imported CAD — Enable only Remove All DWG files and run. All imported CAD (not linked) is removed, reducing file size without touching views or sheets.
Removing all Revit links before archiving — Enable only Remove All Revit Files to detach all link instances from an archive copy of the project.
Troubleshooting
Some views were not deleted — shown in the fail count The active view cannot be deleted (Revit restriction). Switch to a different view and re-run. In workshared models, views owned by another user will also fail — borrow the view tree and retry.
Sheets remain after running with Remove All Sheets enabled Sheets in a workshared model may be owned by another user. Borrow or check out the sheet elements and retry.
DWGs remain after running with Remove All DWG files enabled Imported CAD elements may be on a workset owned by another user. Borrow ownership and retry.
Revit links remain after running with Remove All Revit Files enabled Loaded Revit links may have pinned instances or be owned by another user. Unpin the links manually or borrow ownership and retry.
The confirmation dialog appeared but no deletions occurred All selected rows may have been protected system views or owned by other users. Check the fail count in the summary output.