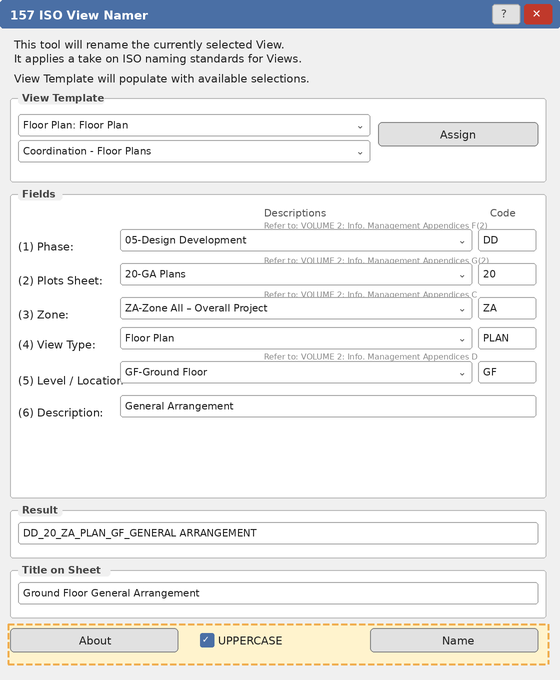
157 ISO View Namer
Chris McKeown / July 1, 2025
Sheet & View Manipulation
Overview
The ISO View Namer renames the currently active Revit View using a structured six-field naming convention based on ISO standards. Fields are auto-populated from view properties and custom parameters, with built-in validation to prevent duplicate names.
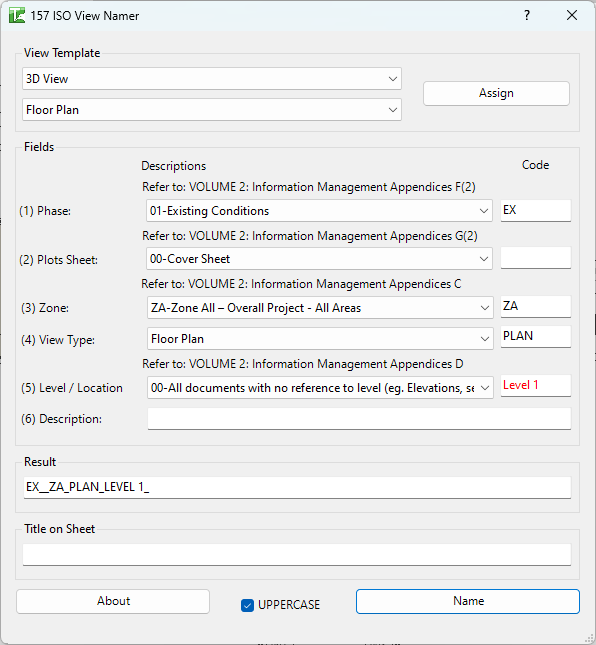
Table of Contents
Key Features
- Six-field ISO naming convention:
Phase_PlotSheet_Zone_ViewType_Level_Description - Auto-populates fields from view type and custom parameters
- Color-coded validation — black for standard codes, red for custom or duplicate
- Predefined standard code dropdowns for all fields
- Custom code entry supported in all code fields
- Duplicate name detection with auto-increment
- View Template and View Family Type assignment in the same dialog
- Title on Sheet parameter management
- UPPERCASE / lowercase toggle
Requirements
- A View must be active when launching the tool (not a Schedule or Sheet)
- Cannot be run on View Templates
- Supports: Floor Plans, Area Plans, Ceiling Plans, Elevations, Sections, Detail Views, Drafting Views, 3D Views, Walkthroughs
- Optional custom parameters for auto-population:
S-VW_Project Phase_T→ Phase fieldS-VW_Drawing Series_T→ Plot Sheet fieldMC_Zone_T→ Zone field
Running the Tool
Launch
Find ISO View Namer on the Bonus Tools Ribbon or use 115 Search Tools.
The dialog opens with fields auto-populated from the current View's properties and any available custom parameters.

Step 1 — Assign View Template (Optional)
The View Template section at the top of the dialog shows two dropdowns — one for the View Template and one for the View Family Type. Both are pre-selected to match the current View.
Select a different template or family type if needed, then click Assign to apply both before naming.
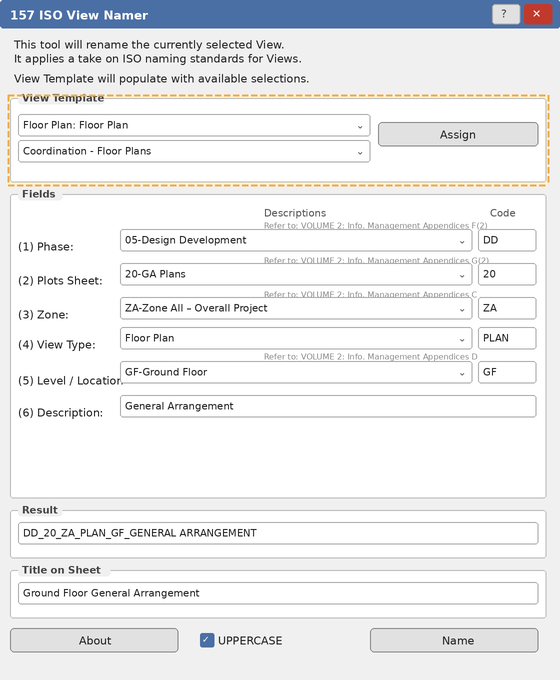
Red text in either dropdown indicates no match was found for the current View — this is a warning only and does not prevent naming.
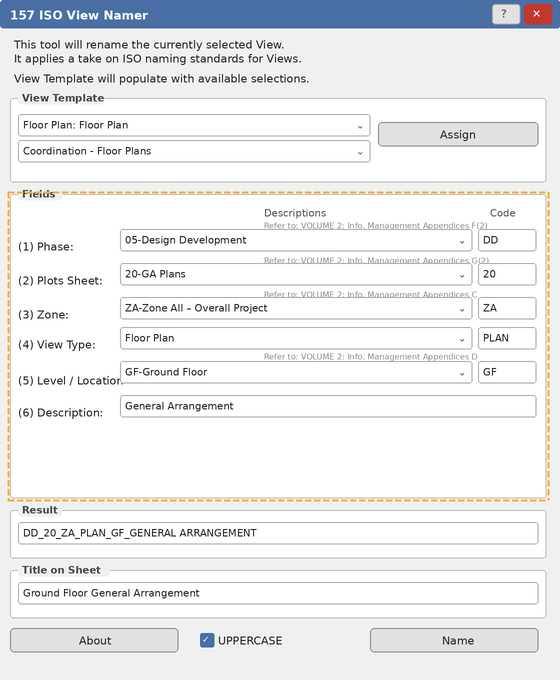
Step 2 — Set the Six Naming Fields
The Fields section contains six rows. Each row has a description dropdown (to select from standard codes) and a short code text box on the right. Selecting from the dropdown auto-fills the code box; the code box can also be edited directly.
Field reference:
| Field | Format | Examples |
|---|---|---|
| (1) Phase | 2 chars | EX, DD, CD |
| (2) Plots Sheet | 2 digits | 20, 30, 60 |
| (3) Zone | 2 chars | ZA, M1, S1 |
| (4) View Type | 4 chars | PLAN, SECT, ELEV |
| (5) Level / Location | 2 chars or level name | GF, 01, NN |
| (6) Description | Free text | General Arrangement |
Fields 1–5 are auto-populated on load. Field 6 (Description) requires manual entry.
(1) Phase
Select the project phase from the dropdown or type the 2-character code directly.

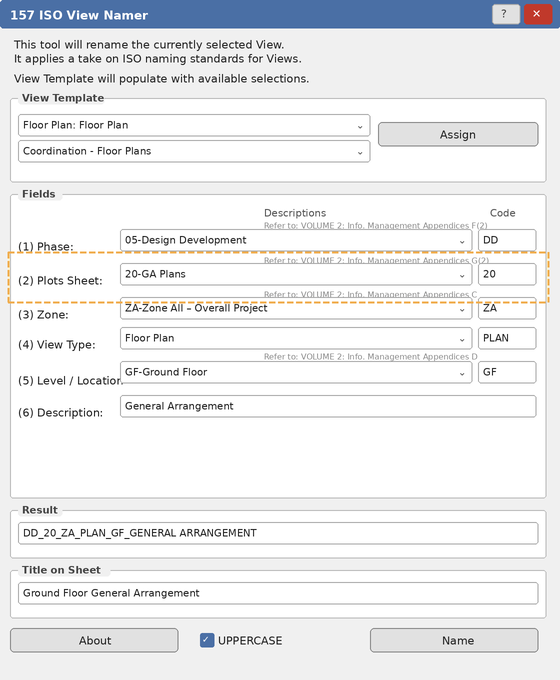
(2) Plots Sheet
Select the drawing series. Corresponds to how drawings are organised on Sheets.
(3) Zone
Select the project zone or building area. Defaults to ZA (Zone All) if no parameter is found.

(4) View Type
Auto-set based on the Revit View type. Override if the default code doesn't match the intended drawing type.
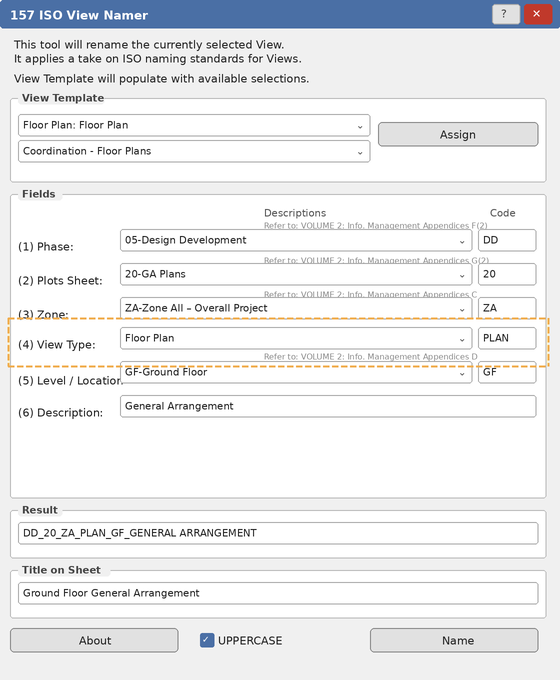
Common auto-assignments: Floor Plan → PLAN, Ceiling Plan → PRCP, Section → SECT, Elevation → ELEV, Detail → DPLN, Drafting → DRFT, 3D → 3PER.
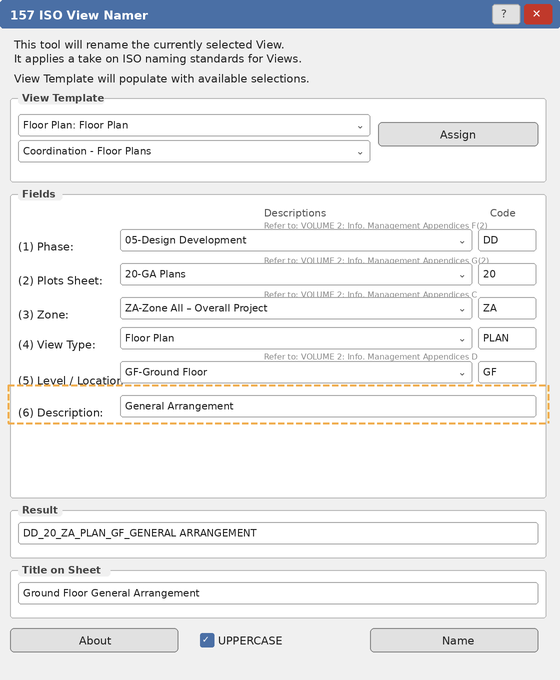
(5) Level / Location
Auto-populated from the View's associated level for plan Views. For elevations and sections, defaults to Location TBC — edit to the appropriate directional code (e.g. NN, SS).

(6) Description
Free text. Keep concise — aim for 2–4 words.
Step 3 — Review the Result
The Result field assembles all six components in real time as you make changes.
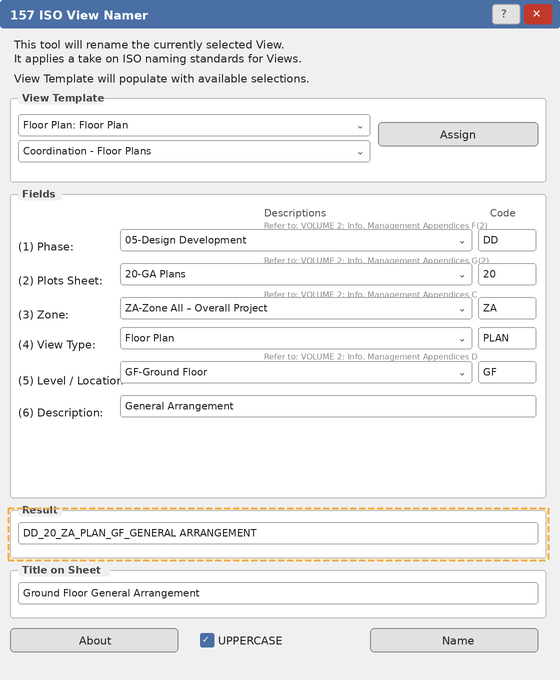
- Black text — the name is unique and ready to apply.
- Red text — a duplicate exists; the tool will auto-increment (e.g. appending
0,1,2) to make the final name unique.
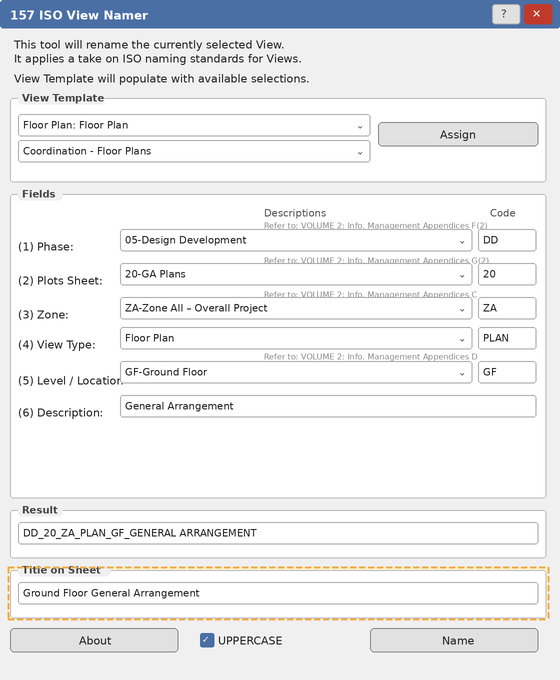
Step 4 — Set Title on Sheet (Optional)
Enter a more descriptive label in the Title on Sheet field. This sets the VIEW_DESCRIPTION parameter independently from the View name and is what appears in viewport titles on Sheets.
Step 5 — Apply Casing and Name the View
Check or uncheck UPPERCASE to control the final casing applied to both the Result and Title on Sheet fields.
Click Name to apply. The View is renamed, the Title on Sheet parameter is updated, and the dialog closes.
Tips and Best Practices
- Keep UPPERCASE enabled. This is standard practice for ISO-named Views and makes the Project Browser easier to scan.
- Set up custom parameters early. Adding
S-VW_Project Phase_T,S-VW_Drawing Series_T, andMC_Zone_Tto your template means fields auto-fill correctly for every View from the start. - Use Title on Sheet for readability. The View name uses short codes; the Title on Sheet can spell it out fully — e.g. View
DD_20_ZA_PLAN_GF_GA→ TitleGround Floor General Arrangement. - The tool parses existing ISO names. Opening a View already named with this convention will split it by underscores and pre-fill each field — useful for correcting or updating a single component.
- Red code fields are warnings, not errors. Custom codes not in the standard list show red but are still applied. Use this for project-specific codes not covered by the defaults.
- Assign the View Template first. If you need to change both the template and the name, assign the template before clicking Name so the dialog refreshes with the updated View state.
Common Use Cases
Naming a new floor plan — Open the plan, launch the tool, set Phase (DD), Plot Sheet (20), Zone (ZA), confirm View Type auto-set to PLAN and Level to the correct floor, enter Description (General Arrangement), click Name. Result: DD_20_ZA_PLAN_GF_General Arrangement.
Differentiating existing vs. proposed Views — Use EX as the Phase code for existing condition Views and DD for proposed, keeping all other fields consistent. The phase prefix makes them immediately distinguishable in the Project Browser.
Multi-zone projects — Assign zone codes (M1, S1, OA, etc.) to group Views by building area. Combined with Plot Sheet codes, Views sort naturally into logical clusters.
Detail view organisation — Set Plot Sheet to 60 (General Construction Details) and View Type to DSEC or DPLN. All details for a drawing series cluster together regardless of level or zone.
Updating an existing name — Open the View, launch the tool, adjust only the field that needs changing (e.g. Phase from SD to DD), and click Name. The other five fields carry over from the parsed existing name.
Troubleshooting
Tool won't open Ensure a View is active — the tool cannot run from a Schedule, Sheet, or with no View open. It also cannot run on View Templates. Close any other open dialogs and try again.
Fields show default values instead of auto-detected ones
The custom parameters (S-VW_Project Phase_T, S-VW_Drawing Series_T, MC_Zone_T) are not present in the project or are empty. All fields can be set manually. Consider adding these parameters to your project template to enable auto-population.
Result field shows red text A View with the same name already exists in the project. The tool will automatically append a number to make the final name unique when you click Name. Adjust the Description field to make it distinct if you prefer to avoid auto-increment.
Name button does nothing / error about "copy" The assembled name contains the word "copy" — this is blocked to avoid confusion with Revit's built-in duplicate naming. Check all fields and the Description for the word and remove it.
Level / Location shows the full level name instead of a short code
The tool reads the actual level name from the project. If levels are named Level 01 rather than 01, the full name is used. Edit the Level / Location code field manually to the preferred 2-character code, or rename project levels to shorter labels.
View Template not applying After selecting a template from the dropdown, you must click Assign — selecting alone does not apply it. Also verify the template is compatible with the current View type.
Code field shows red but the name is still valid Red in a code field means the entered code is not in the predefined standard list — it is a warning only. Custom codes are fully supported and will be applied correctly.