155 Isolate By Workset
Chris McKeown / July 1, 2025
Worksets
Overview
Isolate By Workset temporarily isolates all elements belonging to the same workset as the currently selected element. The isolation applies to the active view instantly with no dialog — making it a natural companion to 154 Set Active View Workset and ideal for keyboard shortcut assignment.
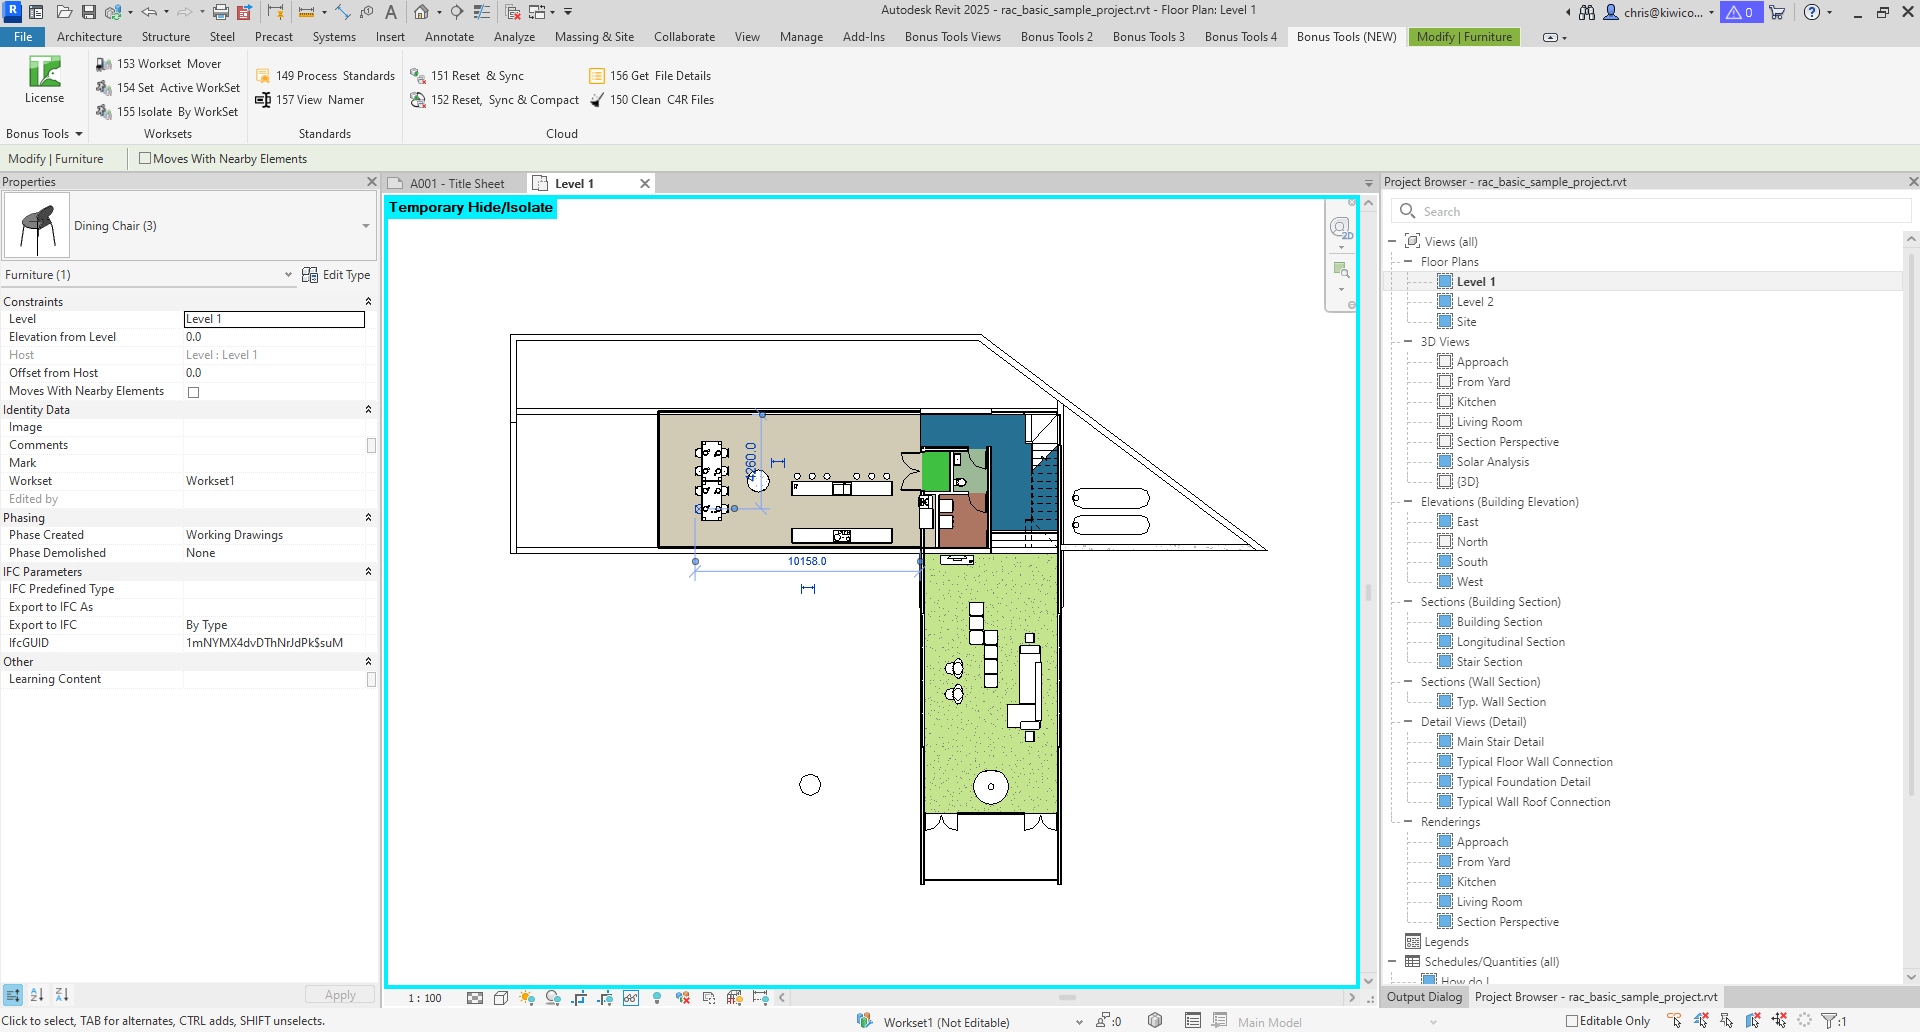
Table of Contents
Key Features
- Temporarily isolates all elements on a workset in the active view — no dialog, no extra clicks
- Reads the workset from the selected element automatically using the
ELEM_PARTITION_PARAMbuilt-in parameter - Isolation is temporary (Revit's standard temporary hide/isolate mode), easy to reset with the lightbulb icon
- Designed for keyboard shortcut assignment for rapid workset review
- When multiple elements are selected, uses the first element in the selection set
Requirements
- The Revit project must be workshared — the tool displays
File is not Worksharedand exits if worksharing is not enabled - At least one element must be selected before running the tool
- The active view must support temporary isolation — not a Sheet view
Running the Tool
This tool has no dialog. The entire workflow is:
- Select an element that belongs to the workset you want to isolate.
- Run the tool — find Isolate By Workset on the Bonus Tools Ribbon, use 115 Search Tools, or press your assigned keyboard shortcut.
- The active view immediately isolates all elements assigned to that workset. All other elements are temporarily hidden.
To exit the isolation, use Revit's standard Reset Temporary Hide/Isolate — click the lightbulb icon in the view control bar and select Reset Temporary Hide/Isolate.
Assigning a Keyboard Shortcut (Recommended)
This tool is most useful when bound to a keyboard shortcut for instant activation.
- Go to View tab → User Interface → Keyboard Shortcuts
- Search for
155orIsolate By Workset - Click Press new keys, type your preferred key combination, and click Assign
- Click OK
Pairing this shortcut with one for 154 Set Active View Workset creates a fast two-key workflow: isolate a workset to review it, then activate it to start editing — without touching any dropdown menus.
Tips and Best Practices
- Pair with 154 Set Active View Workset. A natural sequence is: select element → isolate its workset to review → activate its workset to edit. Two shortcuts, zero dropdown navigation.
- Select a single element for predictable results. When multiple elements are selected, the tool uses the first element in the selection set. The first element may be on a different workset than the one you intend.
- The isolation is fully temporary. It uses Revit's built-in temporary hide/isolate mechanism — no permanent visibility overrides are written. Click the lightbulb and select Reset Temporary Hide/Isolate to restore the view.
- Isolation is per-view. The temporary isolation applies only to the active view. Other open views are unaffected.
- Check element counts after isolating. The Revit status bar shows the number of visible elements — a quick way to verify how many elements are on a given workset in the current view.
- Works in 3D views. Isolating in a 3D view gives the most complete picture of workset content across all levels.
Common Use Cases
Reviewing discipline content — Select any structural column and isolate to see only Structural workset elements in the view. Quickly assess what is modelled without adjusting Visibility/Graphics settings.
Checking workset assignments — Select an element you suspect is on the wrong workset, run the tool, and see which other elements isolate alongside it. Unexpected elements are misassigned.
Coordination reviews — Isolate a consultant's workset to review only their content in a linked model context, without permanently hiding anything else.
Pre-editing view setup — Isolate the target workset to get a clear picture of existing content before activating it with 154 and beginning edits.
Cleanup and QC — Cycle through worksets by selecting a representative element from each and isolating in turn. Verify that elements are correctly assigned and nothing is stranded on the wrong workset.
Troubleshooting
"File is not Workshared" message Worksharing must be enabled in the project. If the file should be workshared, check whether it was accidentally opened as a detached copy — reopen the central file through its standard path.
Nothing happens / no isolation occurs Confirm that at least one element is selected before running the tool. If an element is selected but nothing isolates, check the Bonus Tools Output Dialog for error details. If the active view is a Sheet, switch to a model view — temporary isolation is not supported on Sheets.
The wrong elements isolate When multiple elements are selected, the tool reads the workset from the first element in the selection set, which may not be the one you intended. Select only a single representative element, then run the tool again.
All elements disappear from the view The workset exists and the isolation ran correctly, but the workset has no elements visible in the current view — they may be cut by the view range, on non-visible phases, or outside the crop boundary. Run the same isolation in a 3D view with no crop for a complete picture.
Keyboard shortcut not responding Verify the shortcut is assigned in the Keyboard Shortcuts dialog (View → User Interface → Keyboard Shortcuts) and check for conflicts with other commands. A Revit restart is occasionally needed after assigning new shortcuts.
Error in the Output Dialog An unhandled exception was logged. This may occur if the selected element does not have a workset parameter (some system elements or linked model elements). Try selecting a different hosted element in the project, or check that the selection contains a valid project element.