015 Elements on Levels
Chris McKeown / July 1, 2025
Lists
Overview
Elements on Levels loads all elements hosted to a selected level range into a filterable grid, showing the element name, category, phase created, and phase demolished. Use it to audit what is on a level before deletion, identify elements that were accidentally assigned to the wrong level, and move or delete them in bulk — without hunting through the model manually.
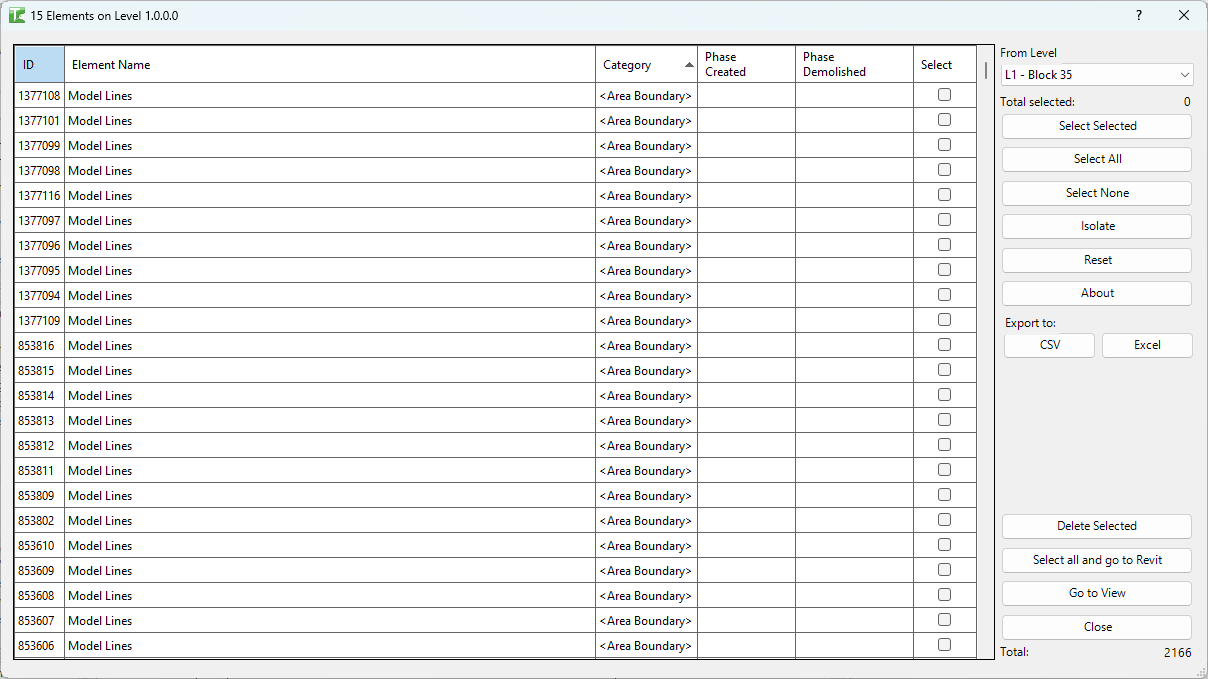
Table of Contents
Key Features
- From Level / To Level dropdowns — filter elements by level range; change either to reload the grid instantly
- Grid loads empty on launch for fast startup; populates only after a level is selected
- Grid columns: Id, Element Name, Category, Phase Created, Phase Demolished, Select
- Go to View — opens the host view and highlights selected elements in Revit
- Delete Selected — bulk-deletes ticked elements with a confirmation prompt; transaction: "Delete Elements"
- Move to Level — reassigns selected elements to a different level; transaction: "Level"
- Select All and Go to Revit — selects all elements in the grid and passes the selection to Revit, closing the dialog
- Export to CSV — exports the current grid for analysis in Excel
- Multi-select: Select Selected / Select All / Select None
- Confirmation: "X items deleted. Y items failed."
Requirements
- Any Revit project document containing levels
- A valid Kiwi Codes Bonus Tools licence must be active
Running the Tool
Launch
Find Elements on Levels on the Bonus Tools Ribbon or use 115 Search Tools.

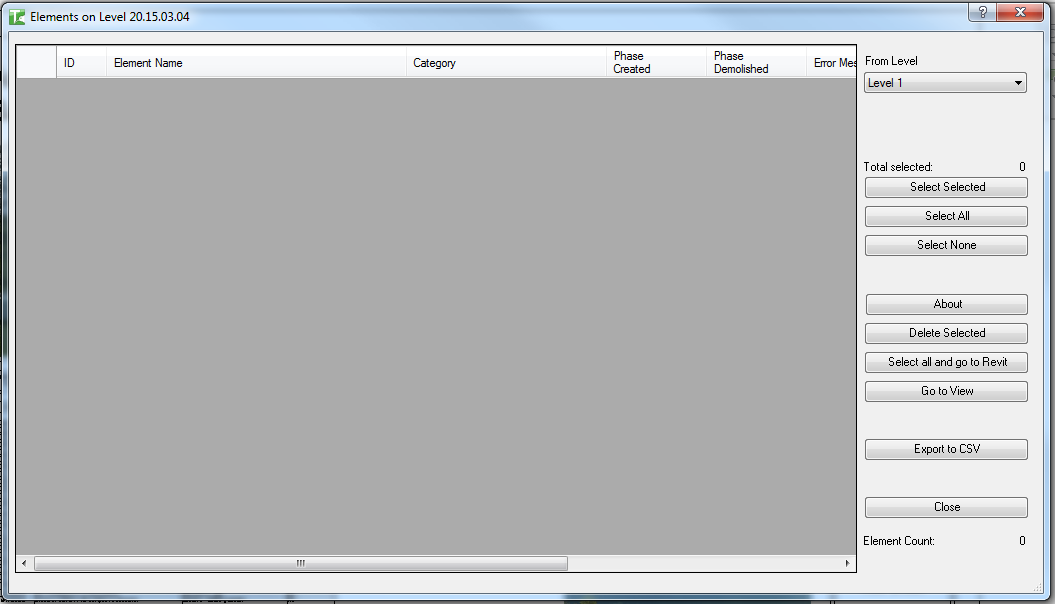
The dialog opens with an empty grid. No elements are loaded until a level is selected — this keeps the dialog fast to open on large projects.
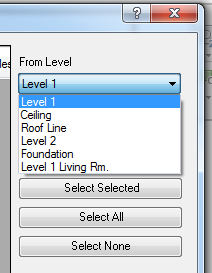
Step 1 — Select a level
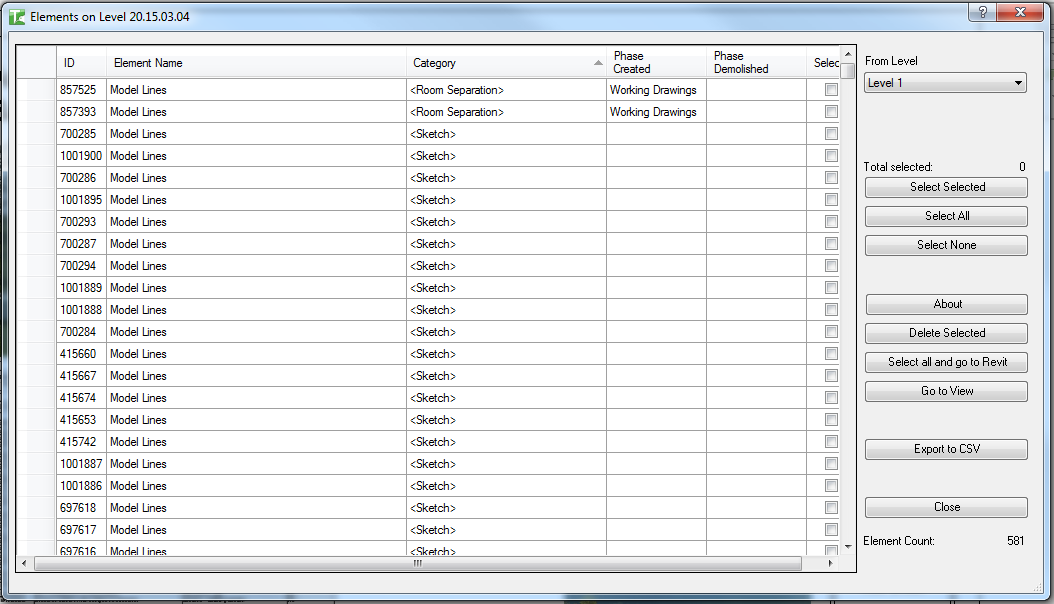
Use the From Level dropdown at the top to select the level to query. The grid immediately loads all elements hosted to that level:
| Column | Description |
|---|---|
| Id | Revit Element Id |
| Element Name | The element's name or type name |
| Category | The Revit category the element belongs to |
| Phase Created | The phase in which the element was created |
| Phase Demolished | The phase in which the element is demolished (if applicable) |
| Select | Checkbox — tick to include in the next action |
The Total counter at the bottom shows the number of elements on the selected level. Click any column header to sort.
Step 2 — Select elements
Tick checkboxes in the Select column, or use the selection buttons:
| Button | Action |
|---|---|
| Select Selected | Toggle the checkbox for the currently highlighted row(s) |
| Select All | Check all elements in the grid |
| Select None | Uncheck all elements |
The Total selected counter updates as you make selections.
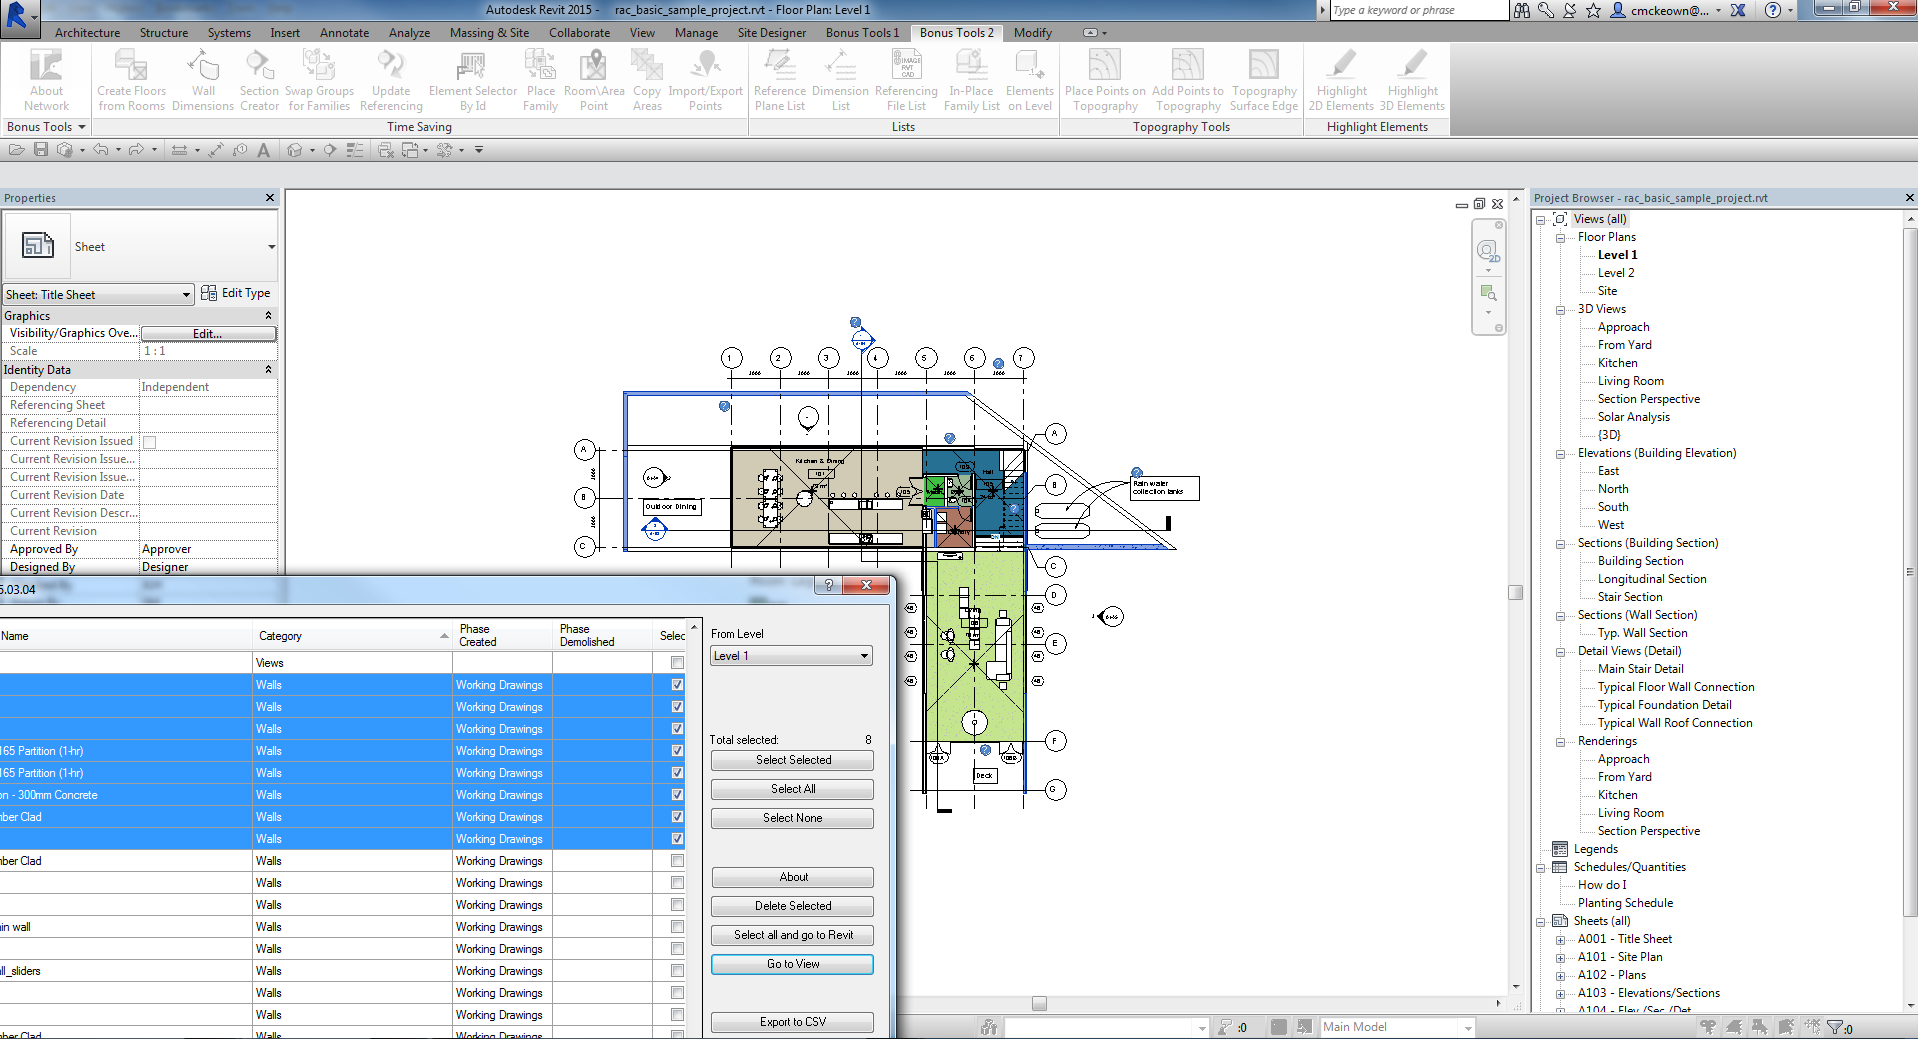
Step 3 — Navigate to elements (Optional)
To confirm which elements a row represents before acting:
- Select the row(s)
- Click Go to View
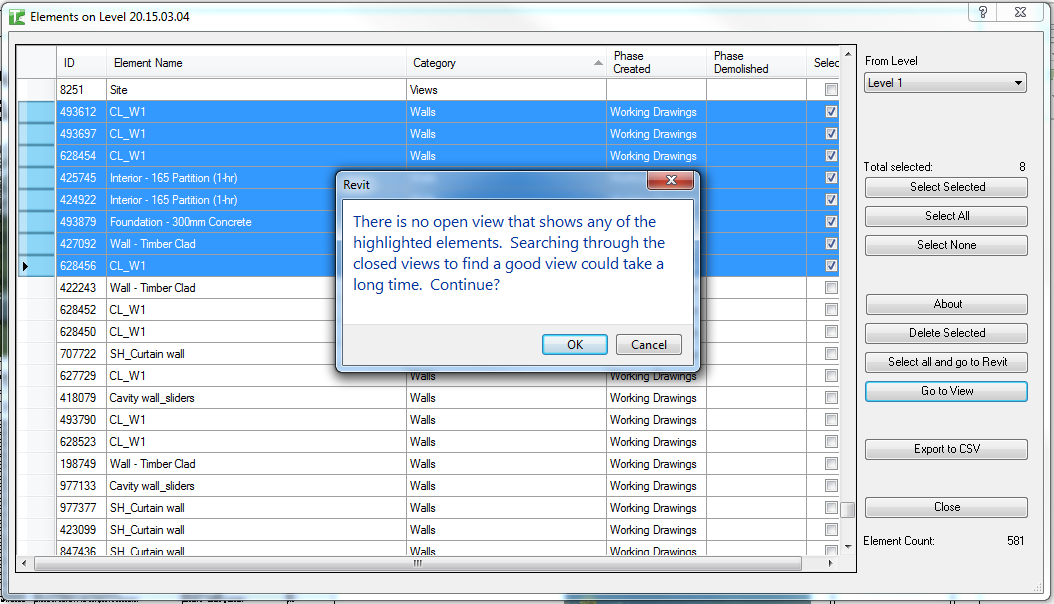
Revit opens the host view and highlights the selected elements:
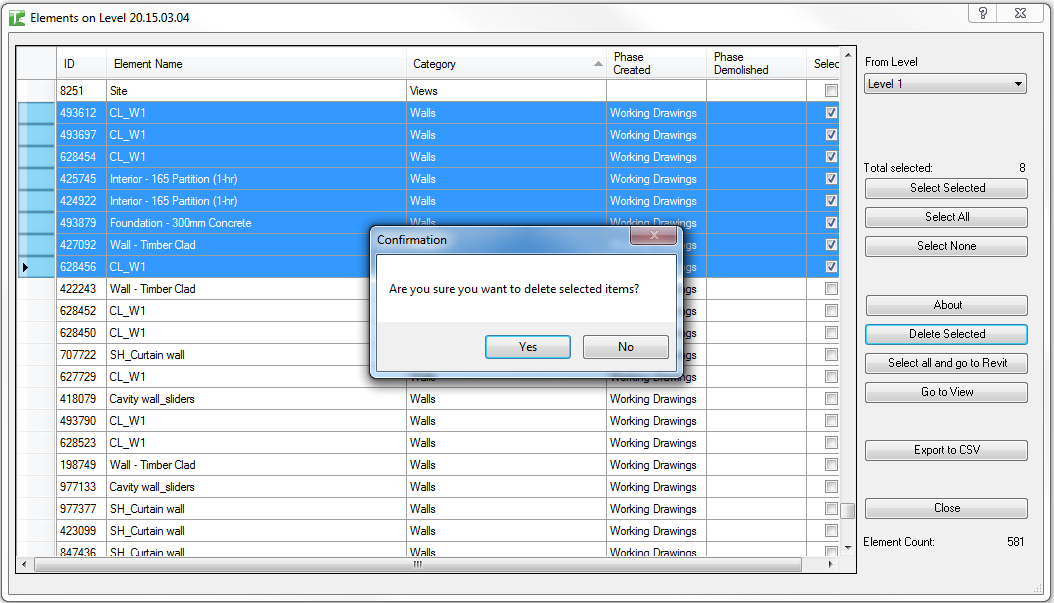
Step 4a — Delete selected elements
- Select the elements to delete
- Click Delete Selected
- Confirm the deletion prompt
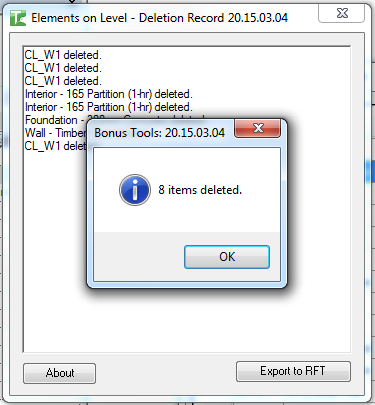
An output dialog shows the detailed results, and a summary reports the total deleted:
Step 4b — Move elements to a different level
To reassign elements to a different level:
- Select the elements to move
- Click Move to Level
- Choose the target level from the dialog that appears
The tool updates the level-hosting parameter for each selected element (supports walls, floors, roofs, stairs, columns, and other level-hosted element types). The grid reloads showing the updated state.
Step 4c — Select all and go to Revit
Click Select All and Go to Revit to pass the full set of elements on the selected level back to Revit as an active selection and close the dialog:


This is useful when you want to work with the element set in Revit directly — filter selection, apply view filters, or use other Revit tools on the selection.
Export to CSV
Click Export to CSV to save the current grid for analysis in Excel. Useful for tracking level populations over time or preparing a deletion plan.
Tips and Best Practices
- The grid loads empty for performance. On large projects, loading all elements at once would be slow. Select a level first, then review before acting.
- Use Go to View to verify before deleting. Elements may have unexpected names in the grid — navigate to the view first to confirm the correct elements are selected.
- Move to Level before deleting temporary levels. If a level is being removed from the project, use Move to Level to rehome its elements first.
- Sort by Category to find orphaned elements. Sorting by Category makes it easy to spot elements assigned to a level that shouldn't be there (e.g. annotation elements or generic model objects placed without a level constraint).
- Export before bulk deletion. Save the CSV before running Delete Selected so you have a record of what was removed.
Common Use Cases
Level audit before deletion — Select a level to be removed, review all hosted elements, reassign or delete them, and then delete the level from the project.
Phase demolition review — Filter to a level and sort by Phase Demolished to identify elements scheduled for demolition and verify they are on the correct level.
Finding misassigned elements — Cycle through levels to identify elements that appear on the wrong floor (e.g. a wall base assigned to Level 2 instead of Level 1).
Preparing a selection set for further processing — Select all elements on a level and use Select All and Go to Revit to pass them to Revit for use with view filters, schedules, or other tools.
Troubleshooting
Grid is empty after selecting a level No elements are formally hosted to the selected level via the Level parameter. Some element categories use different level-association parameters and may not appear. Use the From Level dropdown to try adjacent levels.
"X items deleted. Y items failed." with failures Some elements could not be deleted. In a workshared model, the element may be owned by another user. Borrow or check out the relevant elements and retry.
"Deletion failed. Gain ownership of elements and try again." The delete transaction failed due to a worksharing conflict. Gain ownership of the affected elements and retry.
"Operation Failed." An unexpected error occurred. Check the Revit journal for details.
Move to Level has no effect on some elements Some element types (e.g. detail items, certain annotation elements) do not support level reassignment via the standard level parameter. These elements remain on their original level.