130 Review Warnings
Chris McKeown / July 1, 2025
Power
Overview
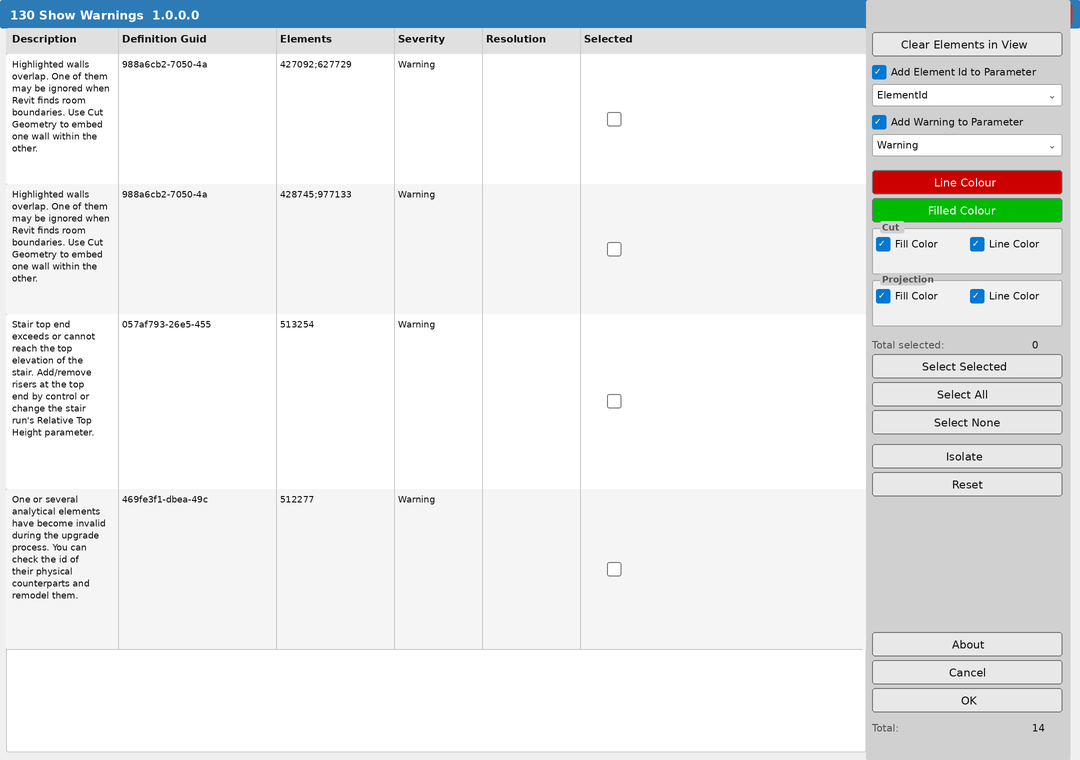
The Review Warnings tool displays all project warnings in a sortable grid, then lets you isolate and color-code the affected elements in the active view. Optionally, it can write Element IDs and warning descriptions to project parameters for schedule-based tracking and QA reporting.

Table of Contents
Key Features
- Lists all project warnings in a sortable grid with Description, Definition GUID, Elements, Severity, and Resolution columns
- Temporarily isolates warning elements in the active view
- Applies customisable line and fill color overrides (Cut and/or Projection)
- Optionally writes Element IDs and warning text to project parameters
- Select All / Select None / Select Selected for bulk checkbox management
- Isolate button filters the grid to checked rows only; Reset restores the full list
- Clear Elements in View blanks the warning parameters for all elements in the active view
- Total warning count and selected count displayed live
- Grouped elements are identified — graphics apply but parameters are skipped to prevent group corruption
Requirements
- An open Revit project file with existing warnings
- An active view that supports temporary isolation (not a Sheet)
- For parameter tagging: two Text instance parameters applied to all relevant categories (e.g.
Warning_ElementIDandWarning_Description) must exist in the project before running
Running the Tool
Launch
Navigate to the Bonus Tools tab and click Review Warnings. The dialog loads with all project warnings listed in the grid. The total count appears at the bottom right of the right panel.
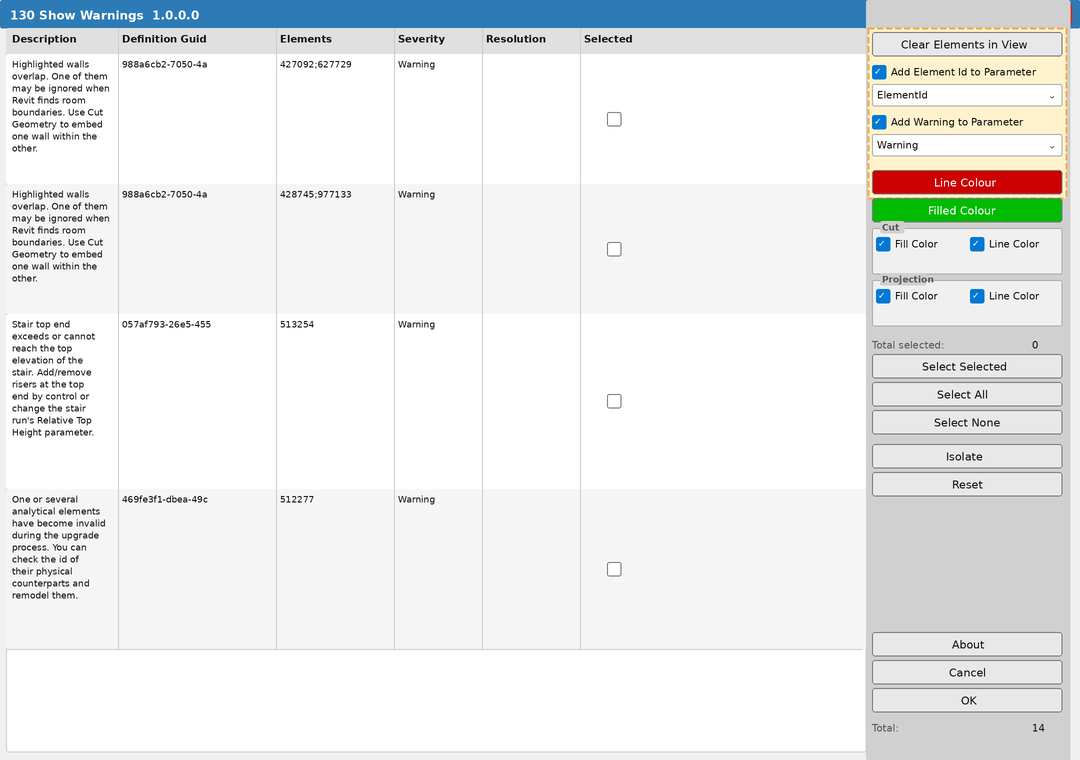
Step 1 — Configure parameter tagging (optional)
The top section of the right panel controls whether the tool writes data to project parameters.
- Clear Elements in View — blanks the warning parameters on all elements in the current view before a fresh run. Use this to reset a previous pass.
- Add Element Id to Parameter — check this and select the target parameter from the dropdown. Each element's ID will be written to this parameter.
- Add Warning to Parameter — check this and select the target parameter. The full warning description will be written (multiple warnings per element are concatenated with
-).
If you only want visual highlighting without writing to parameters, leave both checkboxes unchecked.
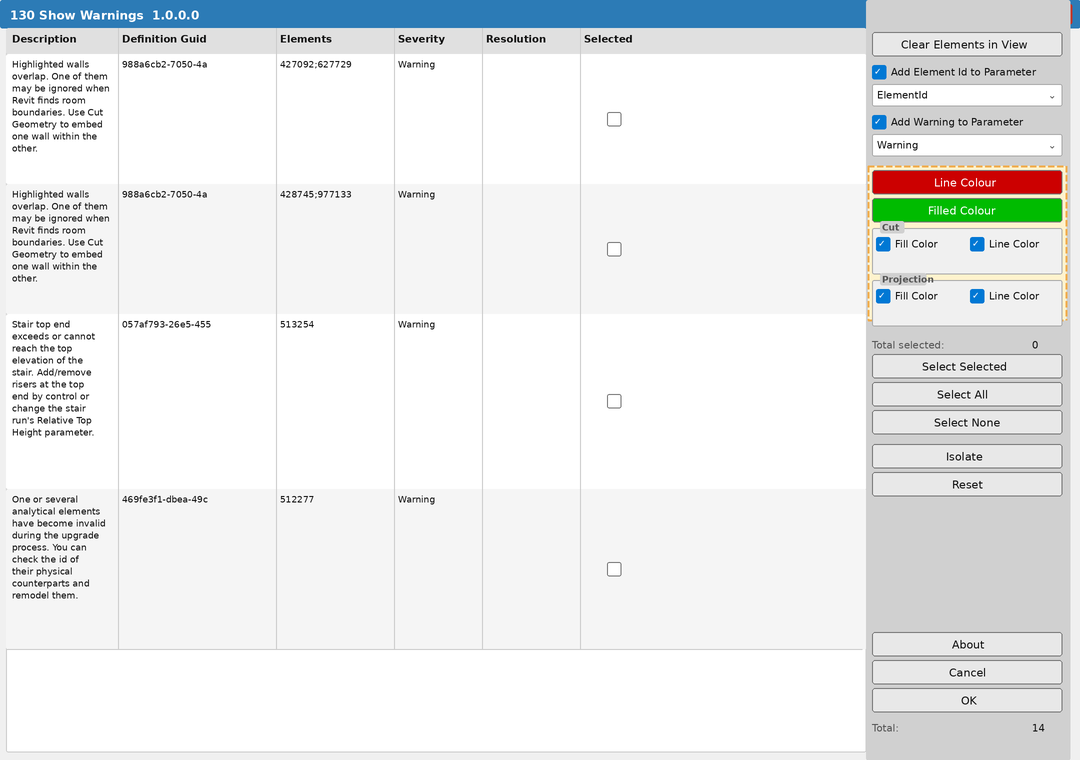
Step 2 — Set colors
Click Line Colour to choose the edge override color (default: red). Click Filled Colour to choose the surface override color (default: green). The buttons display the currently selected color as their background.
Under Cut and Projection, check which combinations to apply. All four are checked by default, making overrides visible in plan, section, elevation, and 3D views simultaneously.
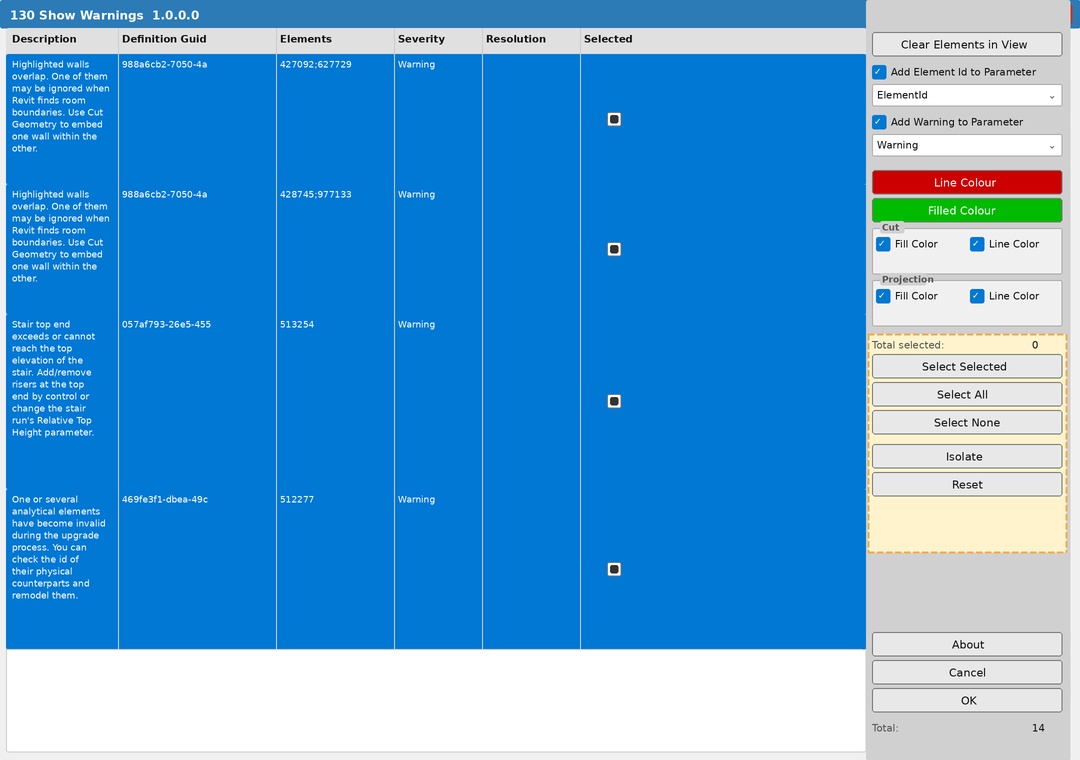
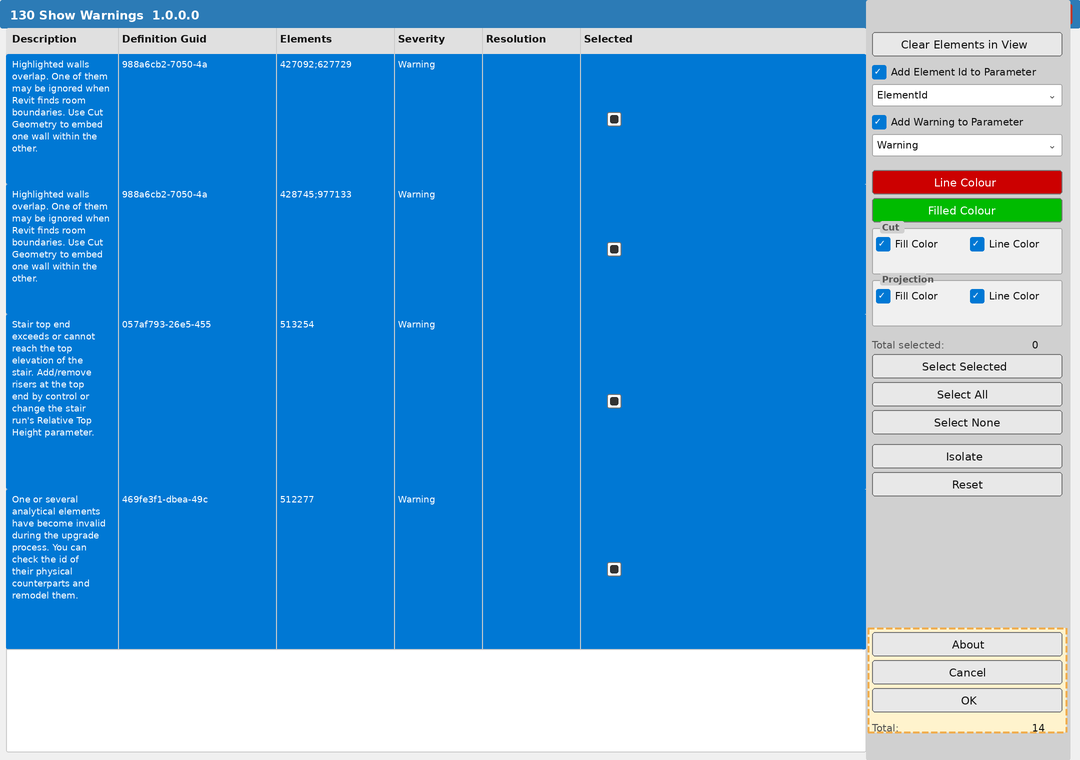
Step 3 — Select warnings to process
Use the Selected checkboxes in the grid to choose which warnings to include. The Total selected counter updates as you check rows.
- Select All — checks every row in the grid
- Select None — clears all checkboxes
- Select Selected — toggles checkboxes for currently highlighted (blue) rows; use with Ctrl+Click or Shift+Click to multi-select rows first, then click this button
- Isolate — removes all unchecked rows from the grid so you can focus on a subset; use Reset to restore the full list
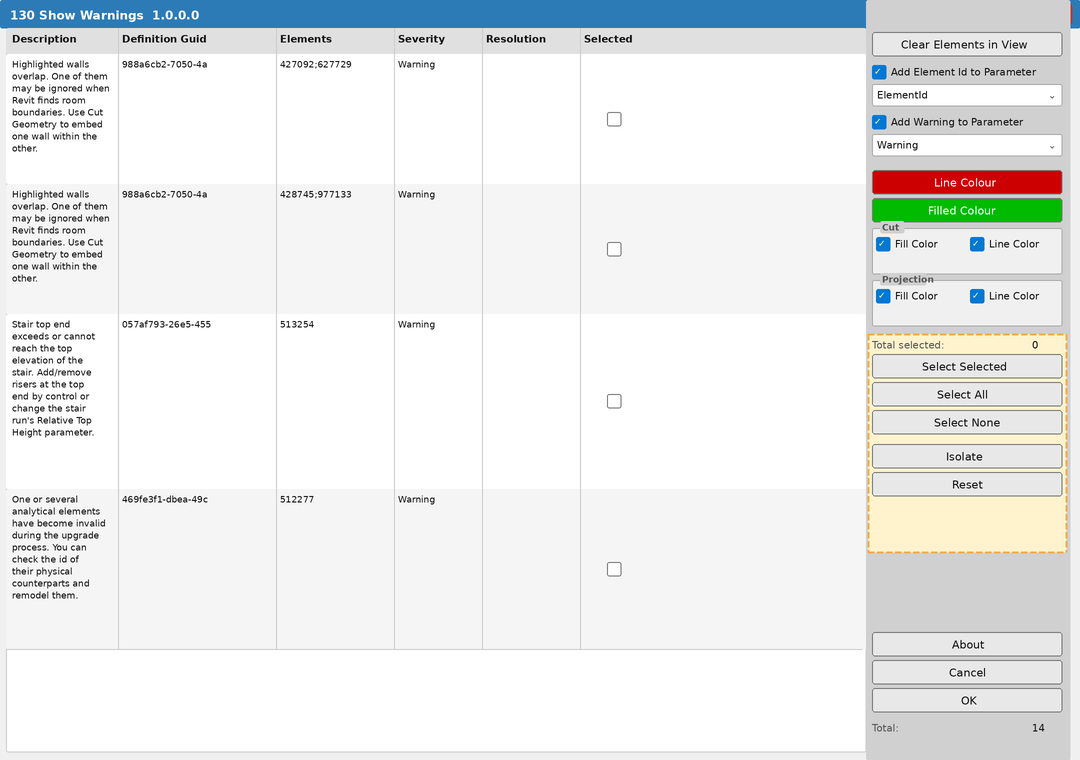
Click any column header to sort. To focus on a specific warning type, sort by Description to group similar warnings together, then select only those rows before running.
Step 4 — Execute
With warnings selected and options configured, click OK. The tool will isolate the affected elements in the active view, apply graphic overrides, write to parameters (if enabled), and select the elements in the Revit UI.
A summary message confirms how many elements were processed — for example: 14 Elements found with Warnings/Errors. 2 Elements are within Groups. Parameters have not been set.
Click Cancel or press Escape to close without processing.
Tips and Best Practices
- Sort by Severity first. Errors are more critical than Warnings — sort the Severity column and address errors before warnings.
- Use Isolate to work through warning types one at a time. Sort by Description, select all rows of one warning type, click Isolate, process them, then Reset and repeat for the next type.
- Create parameters before running. The parameter dropdowns only show parameters that already exist in the project. Add
Warning_ElementIDandWarning_Descriptionas shared Text instance parameters applied to all categories in your project template. - Grouped elements can't receive parameter values. The tool reports how many grouped elements were skipped. If you need parameter tagging on those elements, ungroup them first.
- Clear before re-running. Use Clear Elements in View at the start of each session to blank old parameter values before writing fresh ones — otherwise stale data may accumulate.
- The Resolution column is only populated for Errors, not Warnings. When it shows a value it's Revit's suggested fix — worth reviewing before attempting manual resolution.
- Color overrides persist after closing. The temporary isolation lifts when you reset the view, but graphic overrides remain until cleared via Visibility/Graphics or by re-running the tool. This is intentional for ongoing review sessions.
Common Use Cases
Pre-submission quality check — Run the tool with all warnings selected and parameter tagging enabled. Export a multi-category schedule filtered by Warning_Description to produce a QA report, then assign rows to team members for resolution.
Resolving one warning type across the project — Sort the grid by Description, select only the rows for the target warning (e.g. all "Highlighted walls overlap" entries), click Isolate, then OK. The view isolates only those elements, making it easy to work through them systematically.
Prioritising errors over warnings — Sort by Severity, select only Error rows, and process those first with a distinct color scheme (e.g. red/red). After errors are resolved, re-run for the remaining warnings.
Tracking resolution progress — Enable parameter tagging and build a schedule showing Warning_Description, category, and a manually-filled Warning_Status column. The schedule gives a live picture of outstanding vs. resolved items.
Consultant coordination — Run the tool, export the warning schedule filtered by category, and share separate lists with architectural, structural, and MEP consultants for targeted resolution.
Troubleshooting
No warnings appear in the grid The project has no active warnings — which is good news. Verify via Revit's built-in Manage → Review Warnings dialog. If warnings exist there but not in the tool, close and reopen the tool.
Elements isolate but no color override is visible Verify the Cut and/or Projection checkboxes are checked. Also check that the chosen colors contrast with the view background and that the view is not in Wireframe display mode, which suppresses fill overrides.
Parameters are not being written Confirm the parameters exist in the project and are selected in the dropdowns. Parameters must be instance Text parameters applied to the categories of the affected elements. If the elements are in groups, parameters are intentionally skipped — the summary message reports the count.
"Clear Elements in View" throws an error Both parameter dropdowns must have a selection and both checkboxes must be checked before using Clear. Elements in the view that don't have the selected parameter will be silently skipped.
Warning description is truncated in the parameter Warning descriptions can be very long. If using a shared parameter, ensure the text length is set high enough. Consider storing only severity or a shortened code in one parameter and the full text in a second longer-length parameter.
Isolate removes all rows Isolate removes unchecked rows. If nothing is checked before clicking Isolate, all rows are removed. Click Reset to restore the full list, check the desired rows, then Isolate again.
Some elements show color overrides but not parameter values Elements inside groups receive graphic overrides but parameter writing is intentionally skipped to prevent group corruption. The summary message reports how many grouped elements were encountered.