012 Change Text Case
Chris McKeown / July 1, 2025
Power
Overview
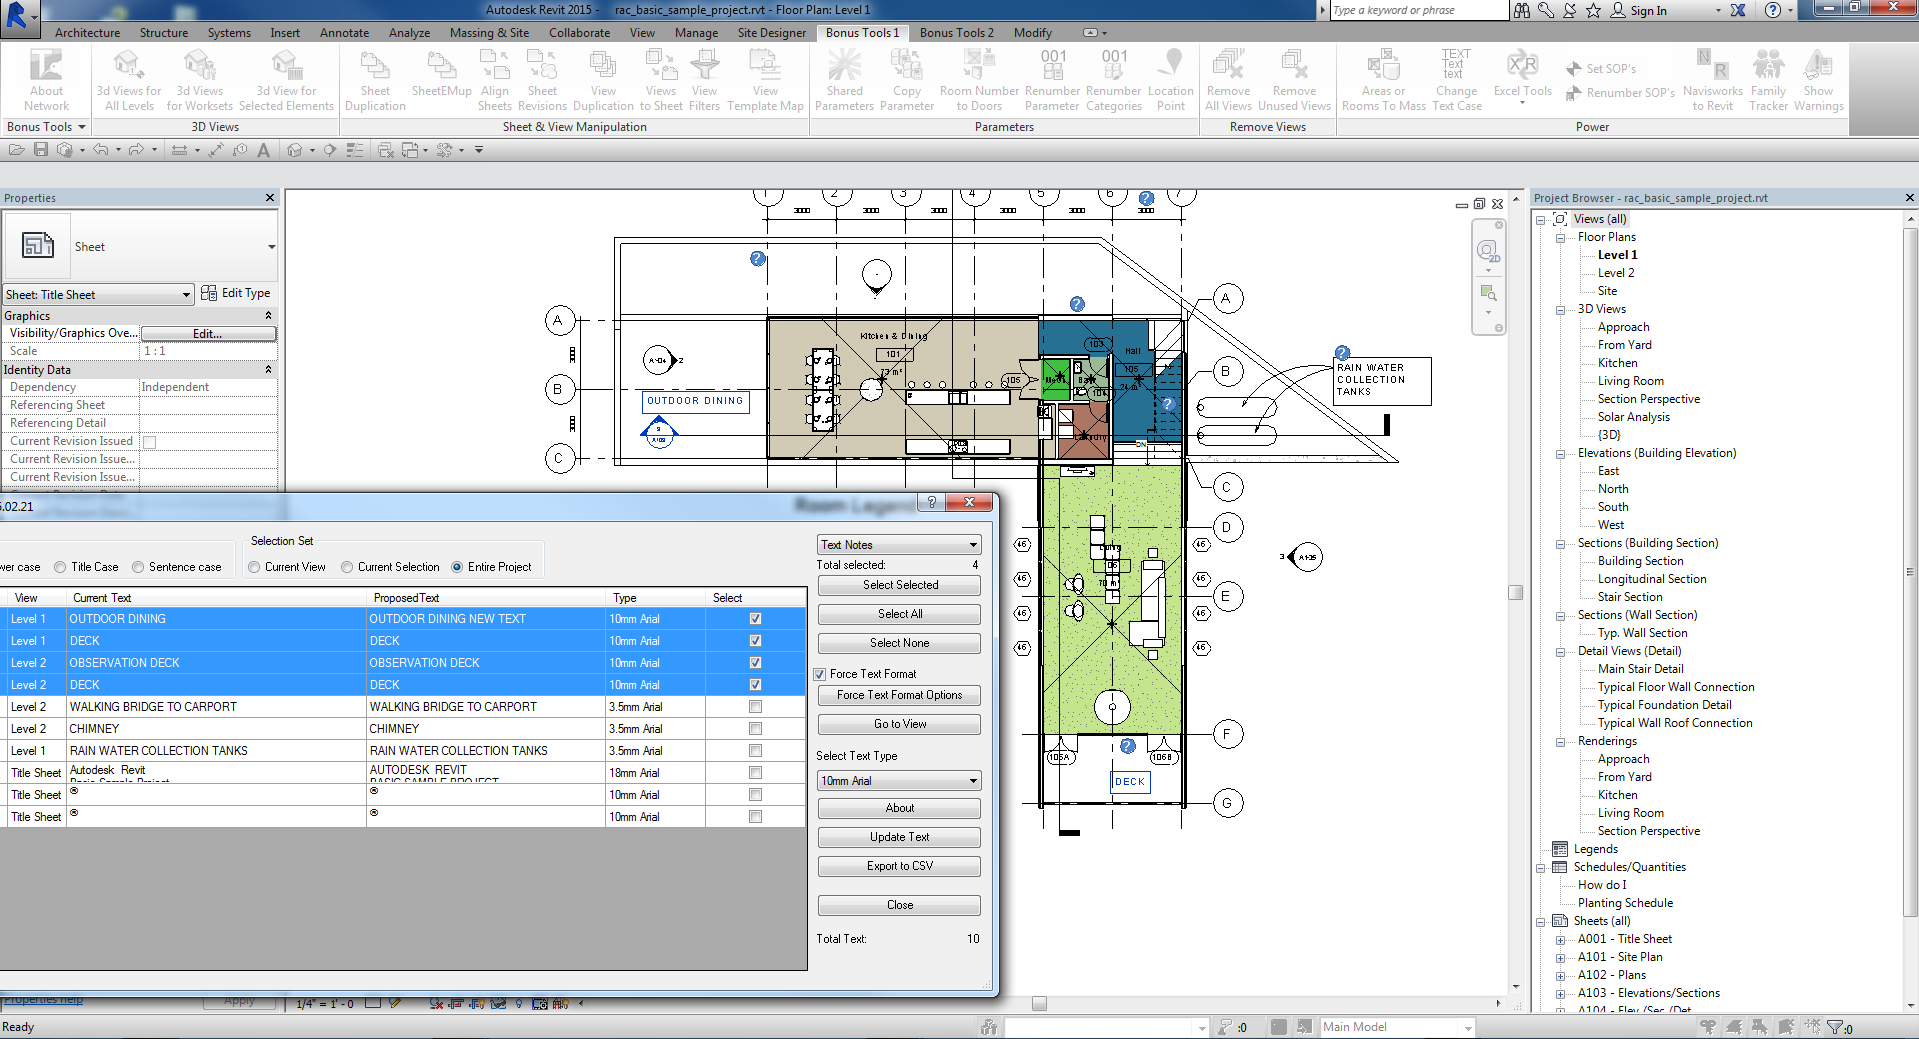
Change Text Case loads Revit text elements into a grid showing the current text and the proposed converted text side by side, letting you preview and selectively apply UPPER CASE, lower case, Title Case, or Sentence case across the entire project or a targeted scope. A Force Text Format exclusion list protects abbreviations and fixed strings from conversion. The tool applies all selected changes in a single transaction without closing the dialog, so you can make multiple passes across different text types in one session.
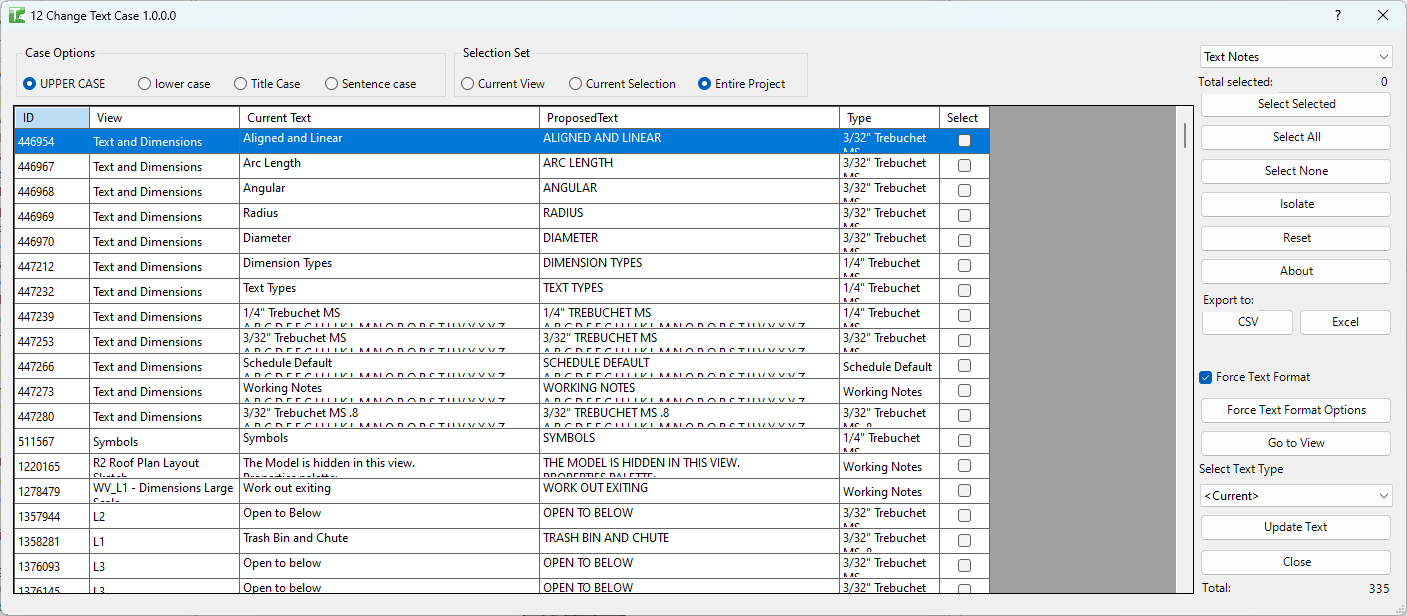
Table of Contents
Key Features
- Case options — UPPER CASE, lower case, Title Case, Sentence case
- Scope selector — Current View, Current Selection, or Entire Project
- Text Type selector — Text Notes, Model Text, Room Names, Area Names, View Names, View Title on Sheet
- Secondary type dropdown — filter by a specific TextNoteType or ModelTextType (or use
<Current>for all) - Grid columns: Id, Current Text (read-only), Proposed Text (preview of converted result), Host View, Type, Select
- Proposed Text updates live as you change case option, scope, or type
- Force Text Format checkbox + sub-dialog — define a list of strings that must retain their exact case regardless of the selected case option
- Load Force Text Format list from a plain text file (one entry per line)
- Update Text — applies changes without closing the dialog, allowing multiple passes
- Go to View — navigates Revit to the host view and highlights selected text elements
- Select Selected / Select All / Select None for fast row selection
- Export to CSV — saves the current grid for review in Excel
- Transaction: "Change Text" with per-element sub-transactions
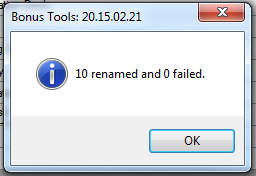
- Confirmation: "X passed. Y failed."
Requirements
- Any Revit project document
- For View Names scope: the active view must be accessible
- A valid Kiwi Codes Bonus Tools licence must be active
Running the Tool
Launch
Find Change Text Case on the Bonus Tools Ribbon or use 115 Search Tools.

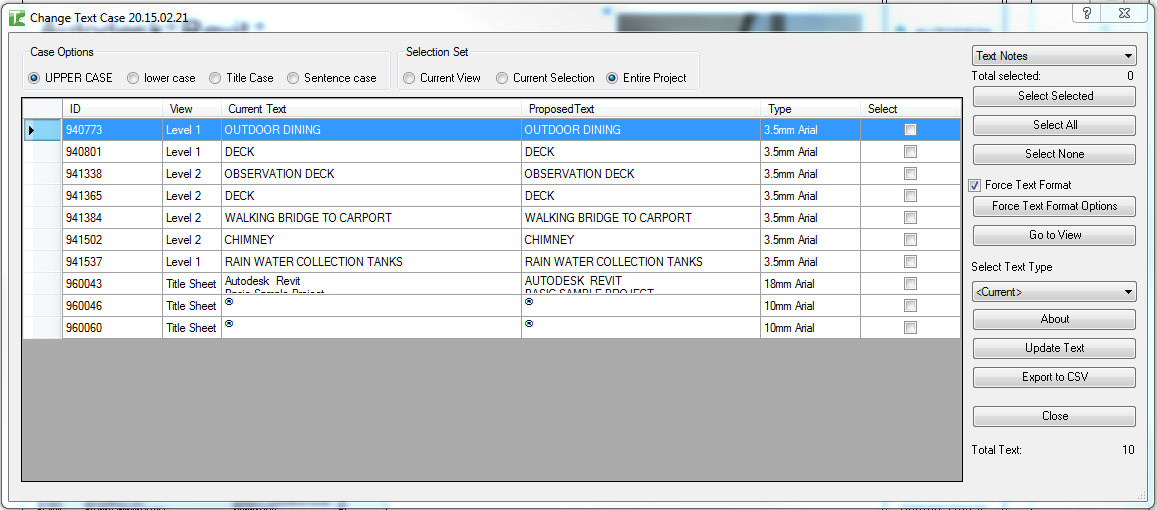
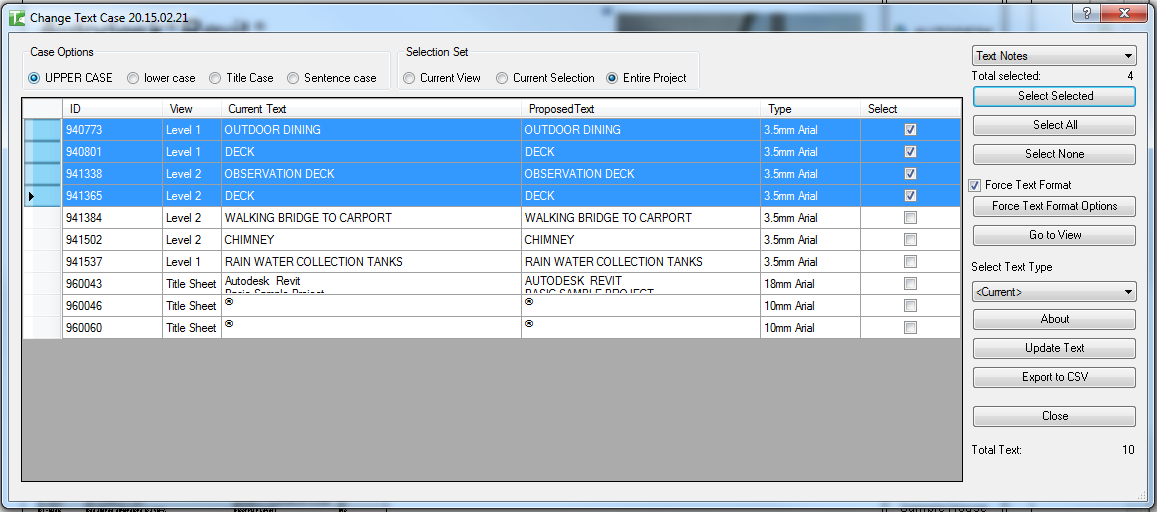
The dialog opens and immediately loads all Text Notes in the project into the grid.
Step 1 — Choose scope
At the top centre, select which elements to include:

| Option | Description |
|---|---|
| Current View | Only text elements visible in the currently active Revit view |
| Current Selection | Only elements currently selected in Revit before launching the tool |
| Entire Project | All text elements of the selected type across the entire project |
Changing the scope reloads the grid automatically.
Step 2 — Choose text type
At the top right, select the type of text to load:
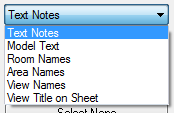
| Text Type | Description |
|---|---|
| Text Notes | Annotation text notes placed in views |
| Model Text | 3D model text elements |
| Room Names | The Name parameter of Room elements |
| Area Names | The Name parameter of Area elements |
| View Names | View name parameters in the Project Browser |
| View Title on Sheet | The title text shown on sheet viewports |
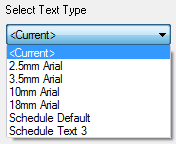
A secondary dropdown appears for Text Notes and Model Text, letting you filter to a specific TextNoteType or ModelTextType. Select <Current> to include all types.
Step 3 — Choose the case option
At the top left, select the case conversion:

| Option | Example result |
|---|---|
| UPPER CASE | "concrete wall" → "CONCRETE WALL" |
| lower case | "CONCRETE WALL" → "concrete wall" |
| Title Case | "concrete wall" → "Concrete Wall" |
| Sentence case | "concrete wall" → "Concrete wall" |
The Proposed Text column in the grid updates immediately to preview the result.
Step 4 — Select rows
Select the text elements you want to change:
| Button | Action |
|---|---|
| Select Selected | Toggle the checkbox for the currently highlighted row(s) |
| Select All | Check all rows in the grid |
| Select None | Uncheck all rows |
Or tick checkboxes in the Select column individually. The Total selected counter updates as you select.

Step 5 — Navigate to text (Optional)
To confirm which text element a row refers to before changing it:
- Select the row(s)
- Click Go to View

If the host view is not open, a standard Revit prompt appears:
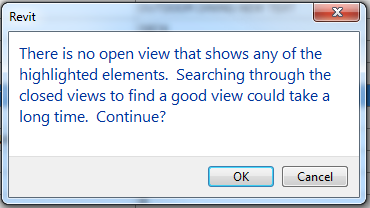
Click OK — Revit opens the host view and highlights the selected text element(s):

Step 6 — Configure Force Text Format (Optional)
Use Force Text Format to protect abbreviations, proper nouns, or fixed strings from being changed by the case conversion.
- Tick Force Text Format to enable the exclusion list
- Click Force Text Format Options to open the sub-dialog
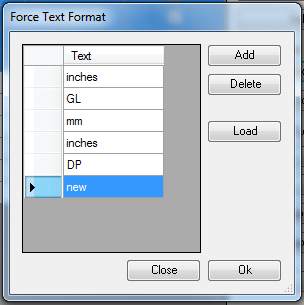
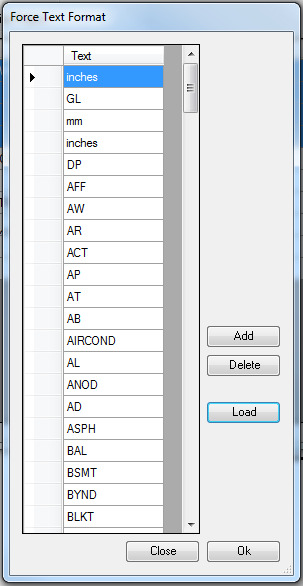
The Force Text Format dialog appears:
Add a manual entry:
Click Add — a new row appears. Type the exact string to protect (e.g. NZ, HVAC, RL):
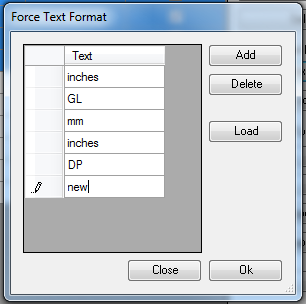
Delete an entry:
Select the row and click Delete:
Load from a text file:
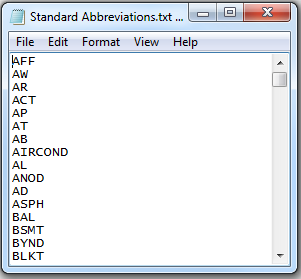
Click Load to import a pre-defined exclusion list from a plain text file (one entry per line):
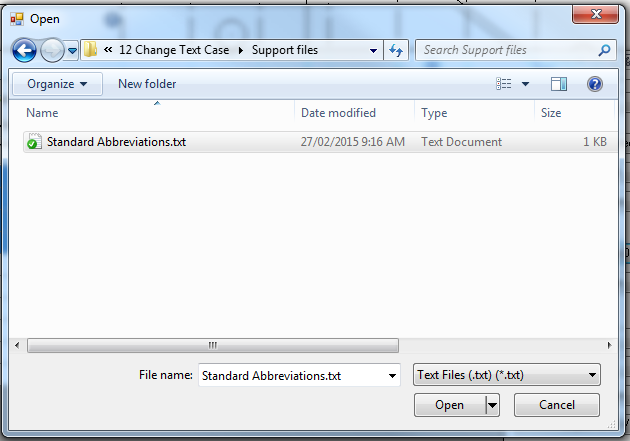
Browse to the file and click Open:
The entries from the file appear in the list:
Click OK to close the sub-dialog and return to the main dialog with the exclusion list active.
Step 7 — Change text type (Optional)
To reassign selected text notes to a different TextNoteType or ModelTextType:
- Tick the checkboxes for the rows to retype

- Open the secondary type dropdown and select the target type
The Proposed Text column updates to reflect the new type applied to the selection:
Step 8 — Edit proposed text manually (Optional)
Click any cell in the Proposed Text column to edit the value directly before applying:

Step 9 — Apply changes
Click Update Text to commit all changes for the selected rows. The dialog stays open for additional passes:

For View Names, Revit may prompt whether to also rename associated levels. Respond as appropriate.
A confirmation dialog reports the result:
Export to CSV
Click Export to CSV to save the current grid contents for analysis in Excel:

Tips and Best Practices
- Preview before applying. The Proposed Text column shows the exact result of each conversion — scan it before clicking Update Text to catch unexpected results.
- Use Force Text Format for abbreviations. Add entries like
NZ,HVAC,RL, andBIMto the exclusion list to prevent them from being lowercased or title-cased incorrectly. - Build a shared Force Text Format list. Save the exclusion list as a plain text file on a shared drive and load it from there — all team members can share the same protected strings.
- Run Update Text multiple times without closing. You can switch scope, change type, adjust selections, and click Update Text repeatedly in the same session. The dialog accumulates changes across multiple passes.
- Use Entire Project scope for bulk standardisation. Filter to one text type at a time (e.g. Room Names) and apply Title Case in a single operation across the whole project.
- Export before bulk changes. Save the CSV before running Update Text so you have a record of the original values if a rollback is needed.
Common Use Cases
Standardising annotation text case on issue — Load all Text Notes in Entire Project scope, select all, apply Title Case, check the Force Text Format list for abbreviations, and run Update Text.
Correcting room names after a design change — Filter to Room Names in Current View, select all rooms in a zone, apply Title Case, and update in one operation.
Renaming views to match naming conventions — Load View Names, filter to a scope, apply the required case, and update — useful when a batch of views was named in mixed case.
Bulk text type change — Select a group of Text Notes using the secondary type dropdown and reassign them all to a different TextNoteType in one pass.
Troubleshooting
Grid is empty after loading No text elements of the selected type exist in the chosen scope. Change the scope to Entire Project or switch to a different text type.
Proposed Text is the same as Current Text The current text is already in the selected case, or the entire string is in the Force Text Format exclusion list. Check the exclusion list and confirm the case option is set correctly.
"X passed. Y failed." with failures Some elements could not be updated. In a workshared model, the element may be owned by another user. Borrow or check out the relevant elements and retry.
"Change Text failed. Gain ownership of elements and try again." The transaction failed due to a worksharing conflict. Gain ownership of the affected elements and retry.
"Operation Failed." An unexpected error occurred. Check the Revit journal for details.
View Names scope asks to rename levels When changing view names, Revit may prompt to rename associated levels if the view is a level-based view. Choose Yes or No as appropriate — the text case change is applied regardless.